How to Protect Composite Decking: Full Guide
Find out how protecting your composite decking can help keep your decking looking its best for years to come. You
Products in Stock
Lowest Prices
Express Delivery
10-Year Warranty
Early July Sale. Up To 15% Off.

Ah, the humble garden fence. It stands sentinel, day in and day out, protecting our little slice of paradise from prying eyes and wayward footballs. But have you ever stopped to consider what your fence might need in return? A good staining, perhaps? If you’ve been putting off this task, thinking it’s a bit of a faff, you’re in for a pleasant surprise. Fence staining isn’t just about aesthetics; it’s about giving your wooden warrior the armour it needs to battle the elements. So, brew yourself a cuppa, and let’s embark on this fence-tastic journey together.
Your fence, bless its wooden heart, is constantly exposed to the UK’s notoriously fickle weather. From scorching summer days (all three of them) to soggy winters, it takes quite a beating. Staining acts as a protective layer, shielding the wood from moisture, UV rays, and even nosy insects looking for a new home. Plus, a well-stained fence can significantly boost your garden’s kerb appeal. Who knows? It might even make the neighbours green with envy.
Before we dive into the staining process, we need to ensure your fence is properly prepped. After all, you wouldn’t paint the Sistine Chapel without first cleaning the ceiling, would you?
First things first, give your fence a good wash. You can use a pressure washer if you have one, but a stiff brush and some elbow grease will do the trick just as well. Remove any dirt, moss, or algae that have taken up residence. If you’re dealing with particularly stubborn grime, a mild detergent solution can help. Once clean, let the fence dry thoroughly. In our British climate, this might take a day or two.
Next, inspect your fence for any damage. Replace any rotten boards and sand down rough spots or splinters. Think of it as giving your fence a spa day – it deserves a bit of pampering before its big makeover.
Now comes the fun part – choosing your stain. It’s like picking out a new outfit for your fence.
There are several types of stains to choose from, each with its own pros and cons.
Oil-based stains penetrate deeper into the wood but can take longer to dry. Water-based stains, on the other hand, dry quicker and are easier to clean up. Choose based on your patience level and how accident-prone you are with a paintbrush.
These options offer different levels of colour intensity. Transparent stains let the wood grain show through, while solid stains provide full coverage. Semi-transparent stains offer a happy medium. The choice depends on how much of your fence’s natural beauty you want to showcase.
When it comes to colour, the world is your oyster. From natural wood tones to bold statement hues, the choice is yours. Just remember, you’ll be looking at this colour every day, so choose wisely.
Right, now we’re ready for the main event. Roll up those sleeves and let’s get staining!
Patience is a virtue, especially when it comes to fence staining. If you’ve recently cleaned or repaired your fence, give it at least 24-48 hours to dry completely. Staining damp wood is a recipe for disaster, leading to peeling and uneven coverage.
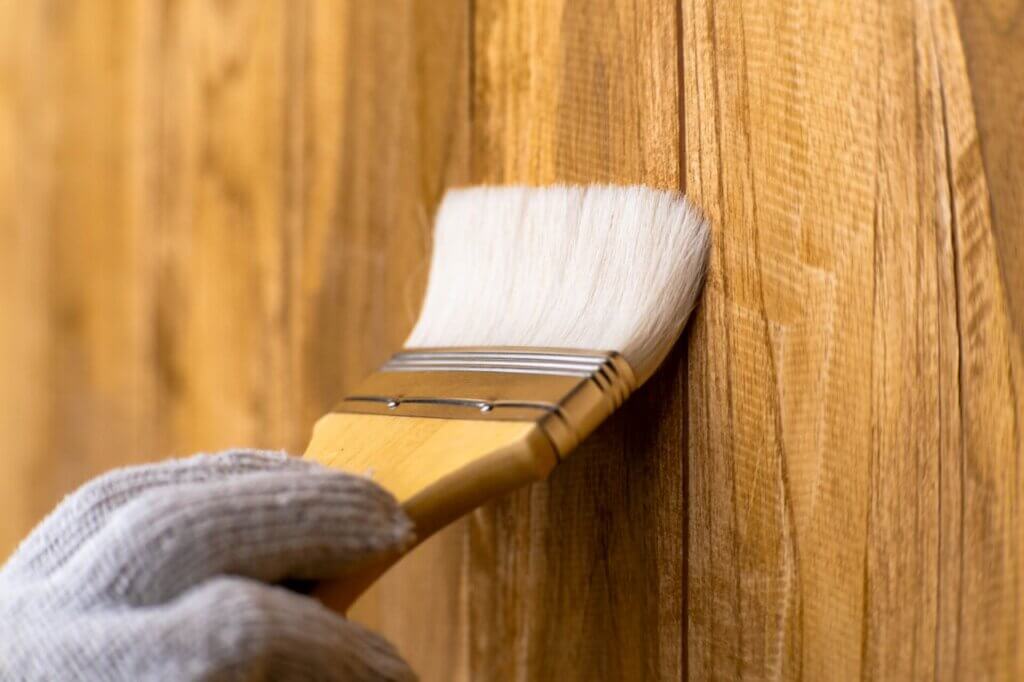
Start at the top and work your way down, applying the stain in long, even strokes. Use a brush for precision work and a roller for larger areas. And remember, when it comes to stain, less is often more. You can always add another coat if needed.
To avoid drips and runs, catch any excess stain with your brush. Work in sections, and maintain a ‘wet edge’ to prevent lap marks. And most importantly, take your time. Rome wasn’t built in a day, and a perfectly stained fence isn’t achieved in an afternoon.
Read Next: How to Stain a Deck?

Congratulations! You’ve successfully stained your fence. But we’re not quite done yet.
Allow the stain to dry completely before touching it or letting anything come into contact with the fence. This could take anywhere from 24-48 hours, depending on the weather. Full curing can take up to a month, so be gentle with your newly stained fence during this time.
Regular maintenance will keep your fence looking its best for years to come, so make sure to check out our fence maintenance guide for a wealth of tips to help you keep your fence in tip-top condition.
Even the most seasoned DIYer can fall prey to these common pitfalls. Don’t worry, we’ve got your back.
It’s tempting to jump straight into staining, but proper preparation is key to a professional-looking finish. Don’t skip the cleaning and repair steps!
When it comes to stain, more isn’t always better. Thick layers can lead to a sticky finish that never fully dries. Thin, even coats are the way to go.
Patience is indeed a virtue in the world of fence staining. Rushing the process can lead to a subpar finish and wasted effort.
There you have it – everything you need to know about fence staining. With a little effort and the right technique, you can transform your fence from drab to fab. And remember, if the thought of all this work has you feeling a bit overwhelmed, there’s always the option of our composite fence panels UK. These low-maintenance alternatives offer the look of wood without the need for regular staining.
Whether you choose to stain your existing fence or opt for a composite alternative, the result will be the same – a beautiful, protected boundary that enhances your garden and stands up to whatever the weather throws at it.

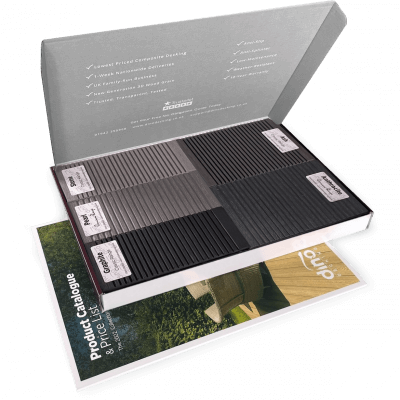
Our sample pack contains a sample piece of each colour currently available. Order your free sample pack today to compare the colours and get a true feeling of the Dino Decking range!
Find out how protecting your composite decking can help keep your decking looking its best for years to come. You
It’s quite common to end up with leftover decking after most installation projects. Offcuts and spare boards don’t need to
Business hours
Monday: 09:00 – 17:30
Tuesday: 09:00 – 17:30
Wednesday: 09:00 – 17:30
Thursday: 09:00 – 17:30
Friday: 09:00 – 17:30
Saturday: Closed
Sunday: Closed
Contact us
01942 355968
support@dino.co.uk
Collection Address: Unit 1 Wetheral Close Hindley Ind Estate Wigan Greater Manchester North West WN2 4HS
Pages
Products
Testing
Copyright 2025 Dino Decking Ltd All Rights Reserved.
VAT Number: GB296097848.
Company Number: 10837233.