Products in Stock
Lowest Prices
Express Delivery
10-Year Warranty
- 01942 355968
- support@dino.co.uk
- Mon - Fri: 9:00 - 17:30
Early July Sale. Up To 15% Off.
3,849 reviews on
4.7/5 rated Excellent
Products in Stock
Lowest Prices
Express Delivery
10-Year Warranty
Early July Sale. Up To 15% Off.
Welcome to the Dino Decking installation page, your go-to destination for expert guidance and instructional videos tailored specifically to Dino Decking composite products. Whether you’re considering revamping your outdoor space with Dino’s premium composite fencing solutions or are already in the process of planning your project, you’re in the right place.
Videos & Guide
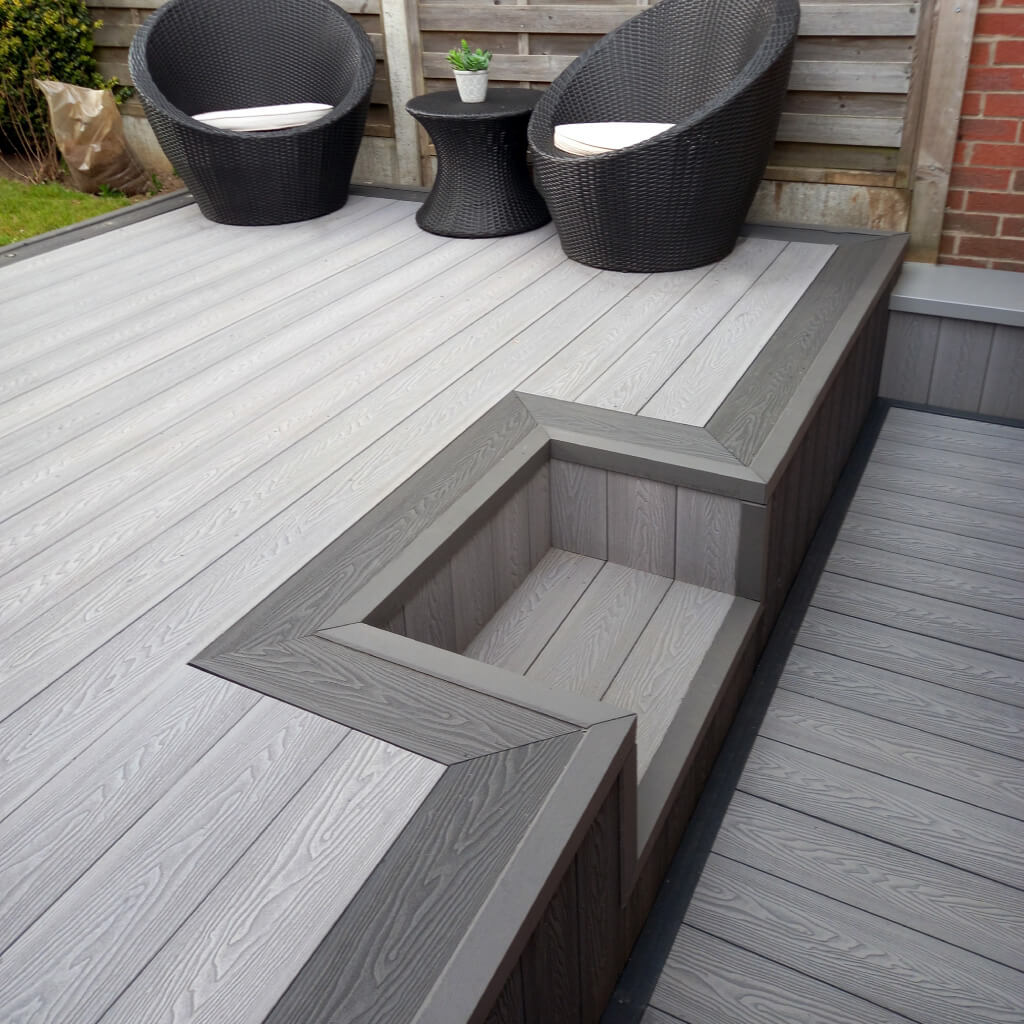
Composite fencing is an increasingly popular alternative to traditional wood fencing, offering countless benefits for homeowners. Its advantages include its DIY-friendly installation process, which makes attractive fencing attainable for almost everyone.
Opting to install composite fencing on your own not only saves money on professional fees but also allows you to tackle the project at your preferred pace, without the need to rely on external contractors.
However, it’s important to properly prepare before undertaking the installation yourself. In this blog, we’ll provide a step-by-step guide on how to install composite fencing in order to make the process as stress-free and simple as possible.
For a detailed step-by-step picture and text guide or individual video tutorials for each product installation, please refer to the sections below.
Start by measuring your garden to determine the total length of your fence. This will then tell you how many posts and panels will be needed. Make sure you take your time, as ensuring the measurements are precise can end up saving you a great deal of time, money and hassle.
If using the aluminium posts, measure the designated fencing area and determine the number of panels needed by dividing the linear meters by 1.8, the size of each panel. Ensure proper preparation of the surface by providing approximately 200mm depth of concrete beneath each post section for secure anchoring of the anchor bolts.
Composite fencing can be installed as a DIY project, but it requires careful planning and the right tools. The installation process involves setting posts, installing rails, and fitting the composite panels. A critical part of the process is spacing the posts correctly and ensuring they are aligned at 180-degree adjacent angles. If you are installing on existing concrete posts, this step is simplified as the posts are already in place. However, for those less experienced in fencing installation, hiring a professional can ensure the fence is installed correctly and efficiently, saving time and avoiding potential mistakes.
Cleaning and maintaining composite fencing is straightforward. Regular cleaning with a mild soap and water solution and a soft brush or cloth will keep the fence looking its best. For tougher stains, you can use a jet wash on a very light setting to avoid damaging the material. It’s important to avoid harsh chemicals and high-pressure settings to maintain the fence’s integrity and appearance. Regular maintenance will ensure your composite fence remains in top condition for years.
It is important not to squeeze the composite panels tightly between the posts. Allow minimal space for movement, as heat can cause the panels to expand and bend if they lack adequate space. A great tip is to use the bottom aluminium rail to space the posts correctly. This consideration ensures the longevity and structural integrity of your fence, preventing warping and damage due to thermal expansion.
Yes, composite panels can be cut to size to create smaller width fences or to fit spaces that are smaller than 1.8 meters, such as those with preset concrete posts. This flexibility allows for customisation and ensures a perfect fit for your fencing needs.
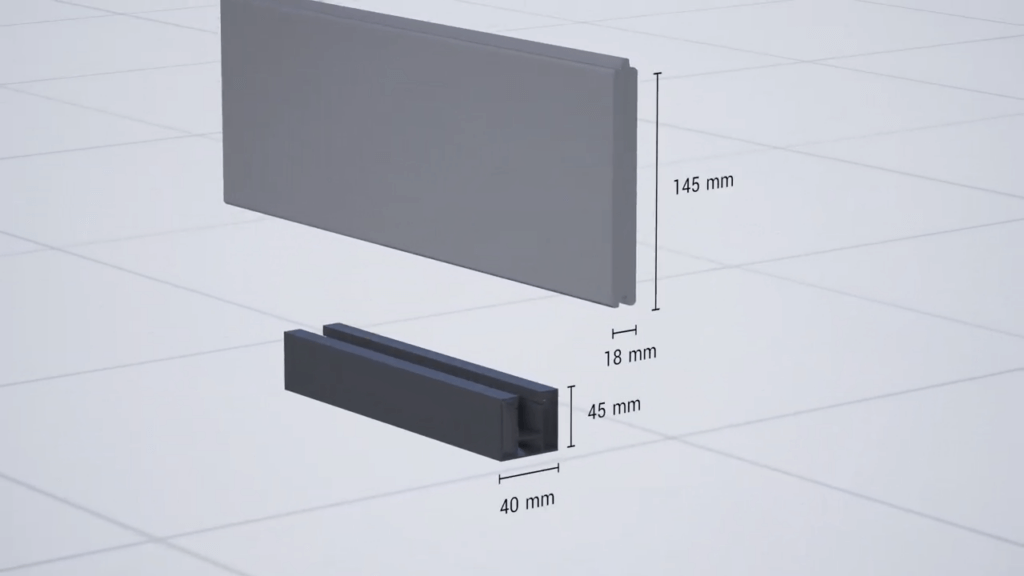
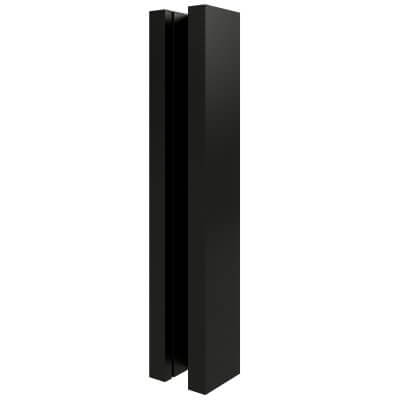
Each aluminium post measures 70mm x 70mm, and stands at a height of 1800mm. The fence slats measure 1800mm x 145mm x 18mm.
Step 1
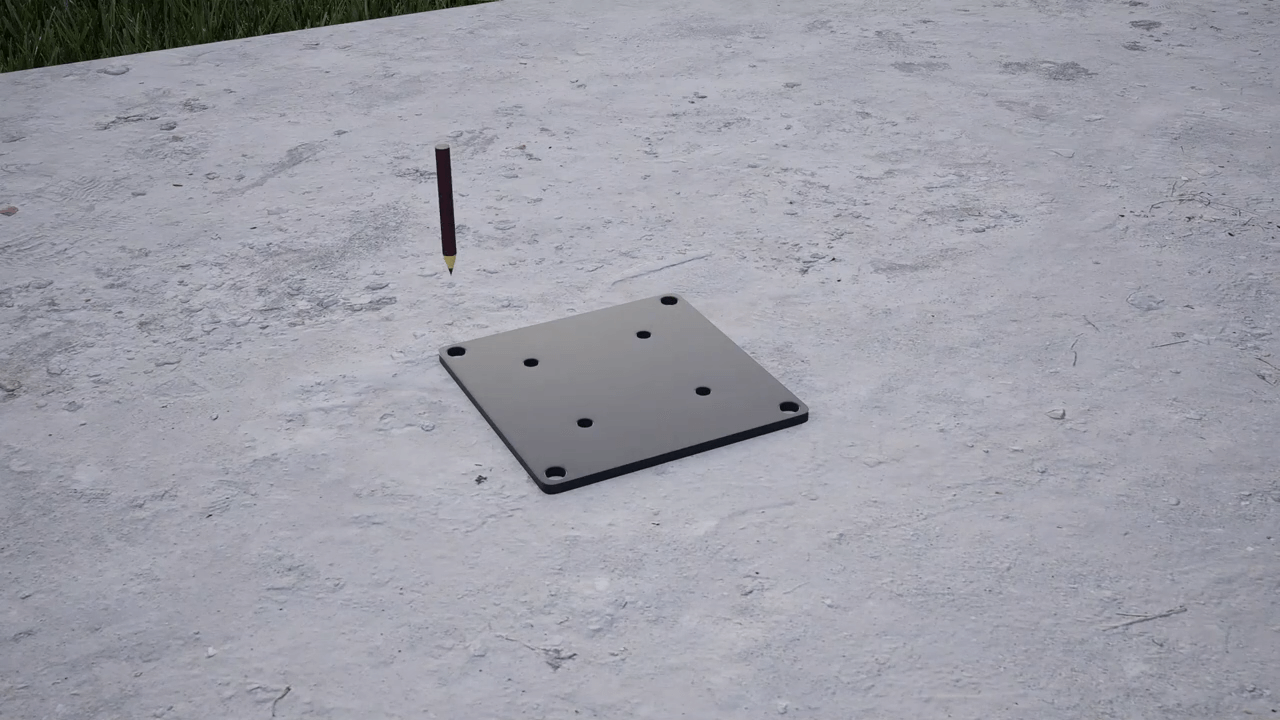
Begin by installing the post. Lay the baseplate on the concrete surface, and mark out where the bolts will be placed.
Step 2
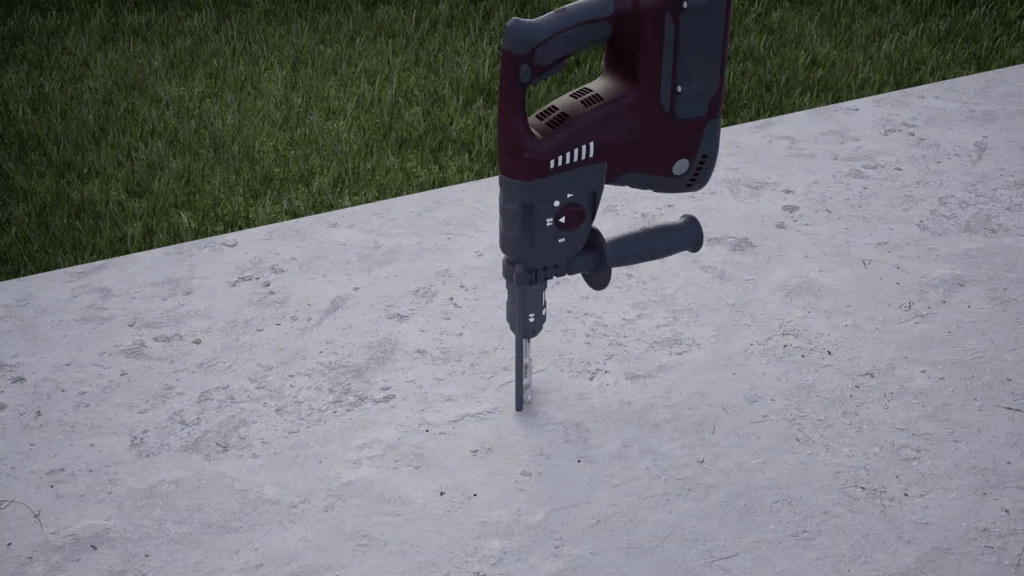
Pre-drill the concrete surface, making sure that it’s cleared of any debris.
Step 3
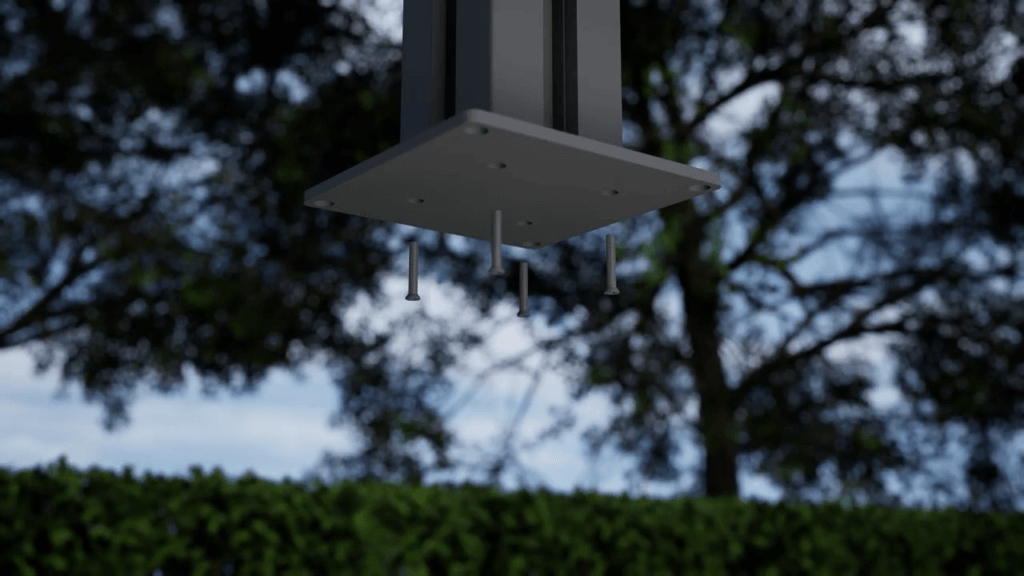
Secure the baseplate to the aluminium post, using the screws provided.
Step 4
Once assembled, position the baseplate over the pre-drilled hole and securely attach it to the surface. Use a hammer for the anchor bolts, and tighten them with a spanner.
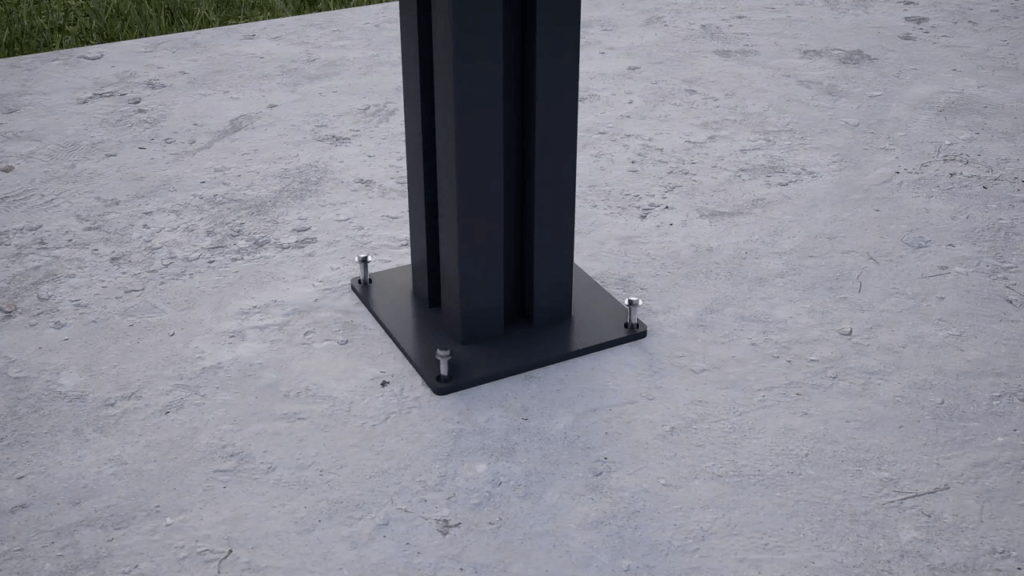
Step 5
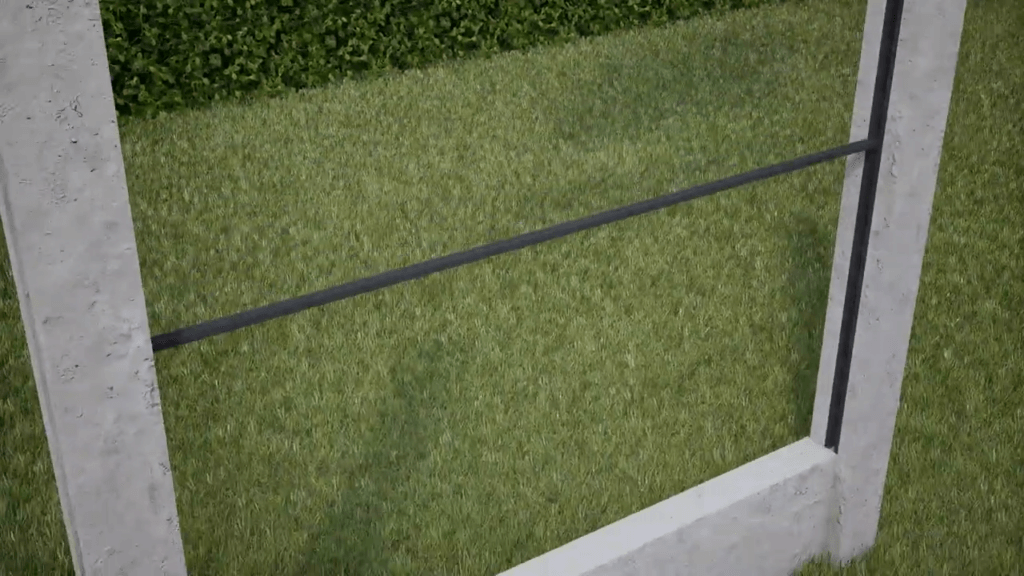
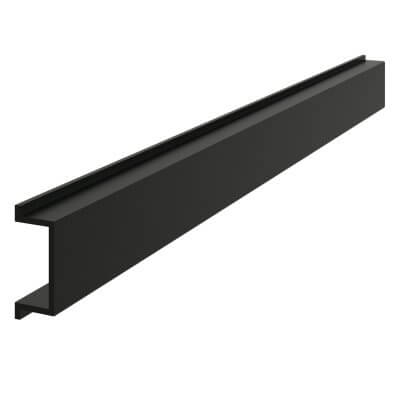
Following this, attach the bottom rail by sliding it into the groove in the post. This will maintain proper spacing between the posts.
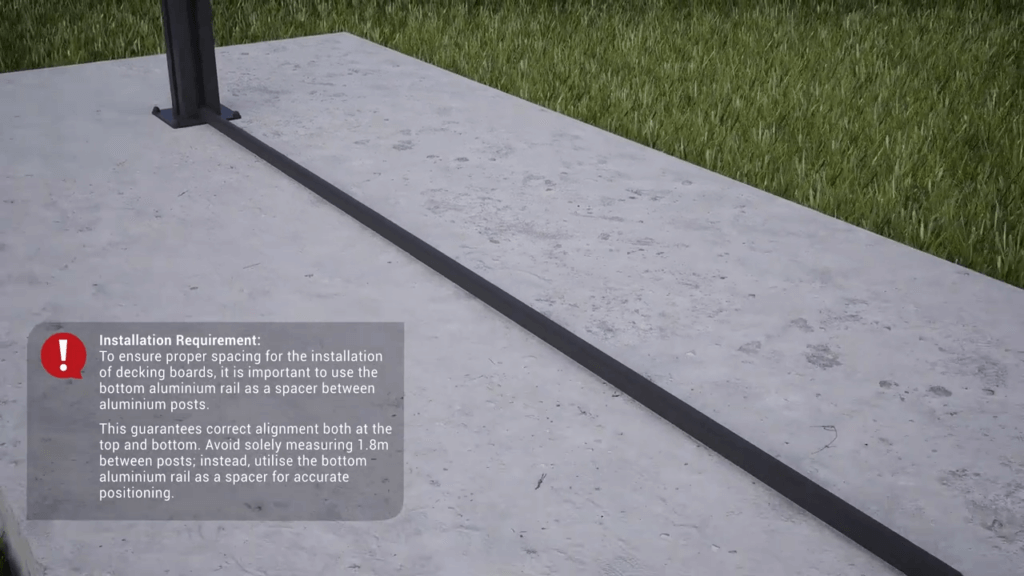
Step 6
Install the second post (by repeating steps 1-5) and proceed to install each fence slat
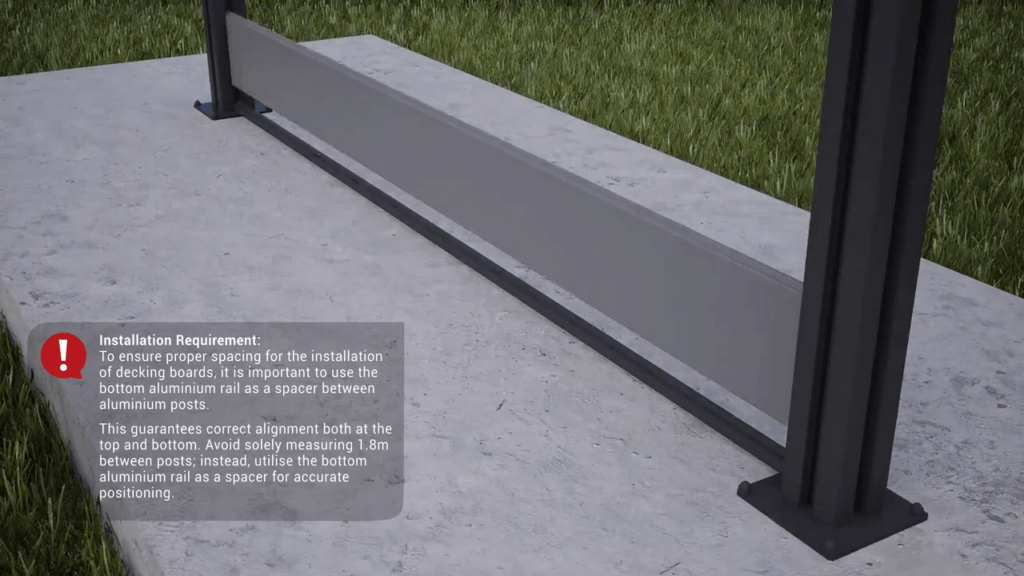
Step 7
Finish by adding the top rail and secure the post caps.
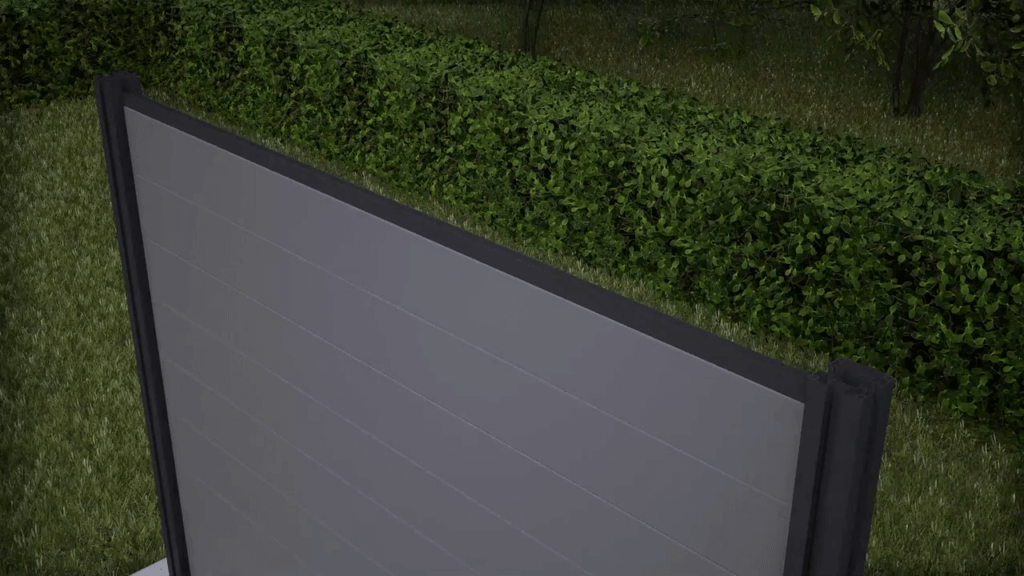
Step 1
Step 2
Step 3
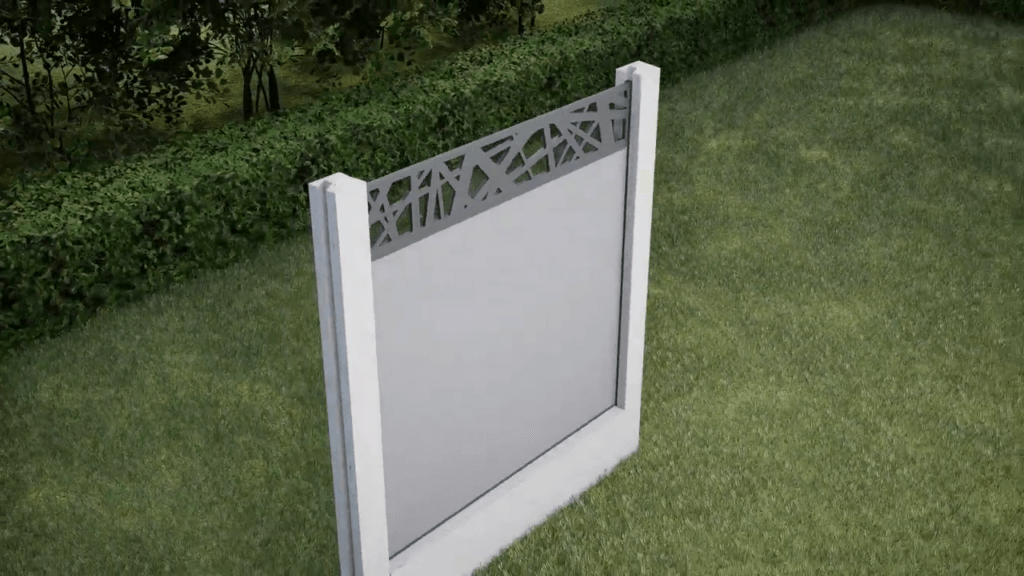
If you’re incorporating a trellis screen into the fencing, first install the bottom rail and then the fence slats, making sure they fit securely. Add the top rail and finally attach your trellis screen to complete the process.
A Composite Decking Substructure may utilise either composite battens/joists or raised aluminium joists supported by plastic adjustable pedestals. These options provide versatile and durable support for the decking material.


Although the process can be seamless and straightforward, it’s important to be aware of some of the potential challenges that may arise, so that they can be avoided. Challenges might include:
In order to address these challenges, it’s vital to carefully plan your installation first. Taking precise measurements and planning the fence layout before installation is crucial. Utilising a laser level during installation also ensures that the fence is straight and properly aligned.
It’s also important to allow for expansion and contraction, so make sure to leave adequate space between panels, following our guidance.
Composite products, including composite decking, have become immensely popular due to their durability, low maintenance requirements, and aesthetic appeal. While we, at Dino Decking, don’t provide fitting services, composite decking is relatively straightforward to install, making it a popular choice for garden fitters and carpenters. With its growing popularity, finding reputable tradesmen to fit our products is made easy through various avenues. A quick Google search or checking platforms like Checkatrade can connect you with skilled professionals who specialize in fitting composite decking. These platforms often feature reviews and ratings, allowing you to choose tradesmen with proven expertise and reliability for the job. However, hiring a professional fitter isn’t always necessary. You can confidently tackle the installation yourself by following our extensive installation guide and instructional videos. Even without prior construction experience, you’ll find it manageable. However, if any aspect of the installation process leaves you uncertain, it’s advisable to enlist a professional’s help to ensure safety and precision. Should you proceed with a DIY approach, remember to prioritise your safety by wearing appropriate protective gear.
Business hours
Monday: 09:00 – 17:30
Tuesday: 09:00 – 17:30
Wednesday: 09:00 – 17:30
Thursday: 09:00 – 17:30
Friday: 09:00 – 17:30
Saturday: Closed
Sunday: Closed
Contact us
01942 355968
support@dino.co.uk
Collection Address: Unit 1 Wetheral Close Hindley Ind Estate Wigan Greater Manchester North West WN2 4HS
Pages
Products
Testing
Copyright 2025 Dino Decking Ltd All Rights Reserved.
VAT Number: GB296097848.
Company Number: 10837233.