
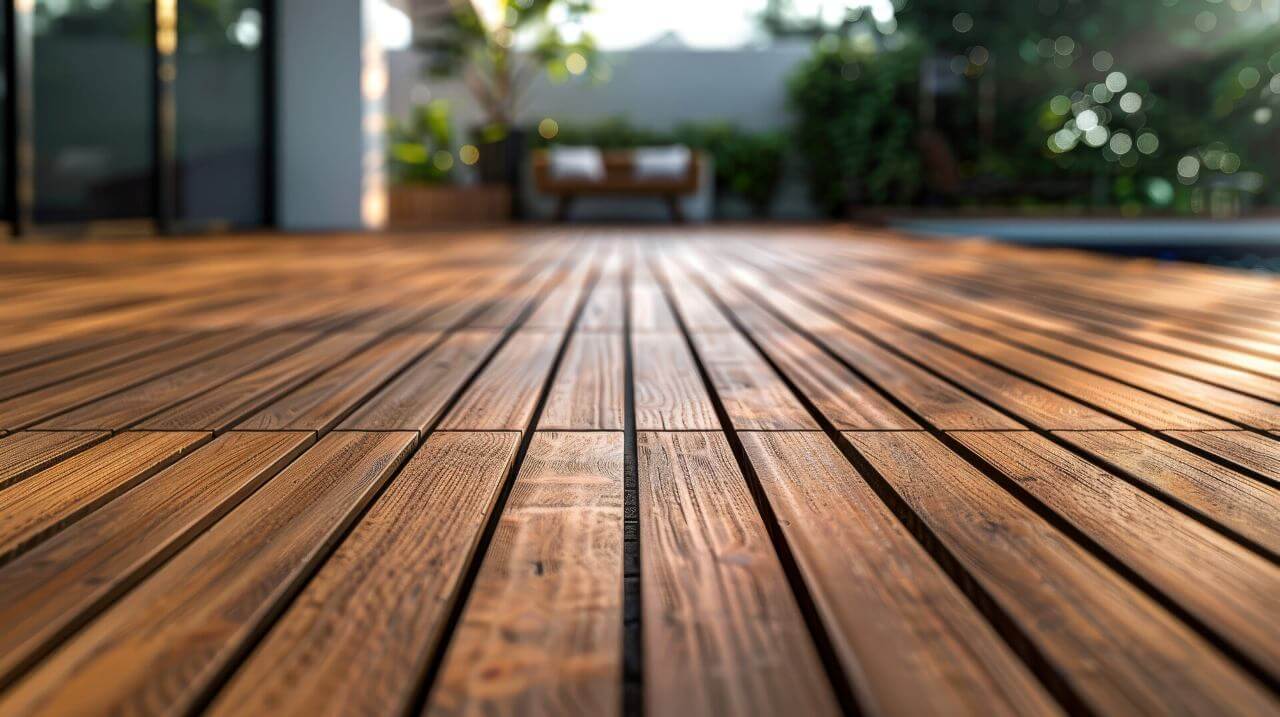
How Long Does Wooden Decking Last?
Wooden decking is a very popular option for outdoor decks. Typically, people appreciate the aesthetic of wooden decking, while composite
Products in Stock
Lowest Prices
Express Delivery
10-Year Warranty
September Sale. Up To 15% Off.
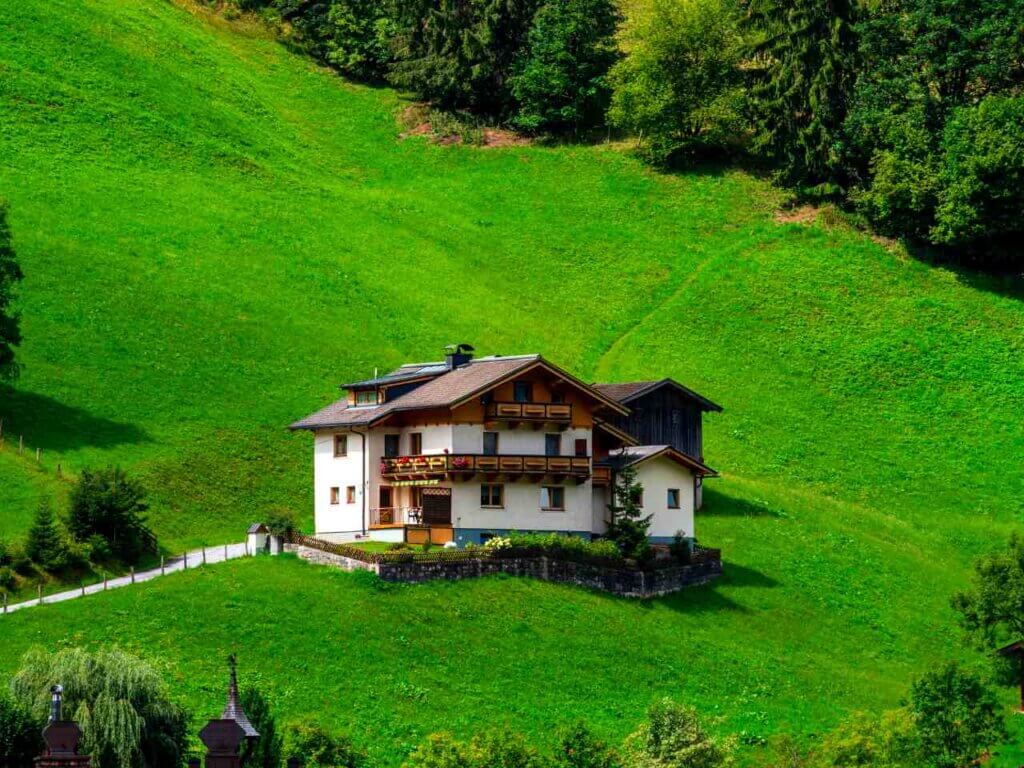
Not all gardens are perfectly level. That said, installing a fence on a slope is entirely achievable, and with a bit of know-how and determination, you can conquer those inclines and create a stunning boundary for your outdoor haven.
Whether you’re envisioning a charming picket fence cascading down a gentle slope or some sturdy composite fencing conquering a steeper incline, this guide will equip you with the knowledge and confidence to tackle your fencing project head-on.
Proper preparation is crucial for a smooth and successful fencing project.
The first thing you need to do is assess the viability of the slope. Accurately measure the length and slope of the area where you’ll be installing the fence. This will help you determine the number of posts and panels you’ll need and ensure you have enough materials.
The easiest way to work out your garden’s gradient or degree of slope is to measure the rise and run using a string, wooden stake and string level or sprit line. After you’ve done this, divide the rise by the run to get the slope.
Having the proper measurements to hand saves a lot of time and money in the long run, so don’t skip this step.
Before you start digging, check with your local council for any planning permission requirements for fences or building regulations that might apply to your fencing project.
Consider the style of your fence, the height you desire, and the spacing between posts. Sketch out a plan to visualise the final result and ensure it complements your garden’s overall design. If you need inspiration, check out our list of fencing ideas.
There are three main methods for installing fencing on a slope:
This method involves following the natural slope of the land, creating a fence that flows with the contours of your garden. It’s ideal for gentle slopes and creates a natural, undulating effect.
This method involves creating a series of steps in the fence line, with each panel installed at a slightly different height to accommodate the slope. It’s suitable for steeper slopes and provides a more structured and formal appearance.
This method involves adjusting the angle of the fence panels to follow the slope, creating a continuous and level top line. It’s suitable for moderate slopes and provides a clean and modern aesthetic.
Regardless of the method you choose, follow these best practices for a secure and long-lasting fence:
Ensure your fence posts are set deep enough in the ground to provide adequate support and stability. Use concrete to secure the posts and prevent movement.
On steeper slopes, consider using longer posts or additional bracing to enhance the stability of your fence.
Regularly inspect your fence for any signs of damage, rot, or loose fittings. Address any issues promptly to prevent further deterioration and ensure the longevity of your fence.

Here are a few common mistakes to avoid when installing a fence on a slope:
Inaccurate measurements can lead to gaps, uneven panels, and an unstable fence. Take your time and double-check your measurements to ensure accuracy.
On sloping terrain, proper drainage is essential to prevent water build-up and potential damage to your fence. Ensure the ground slopes away from the fence to allow water to run off freely.
Always check with your local council for any planning permission requirements or building regulations that might apply to your fencing project, as ignoring these guidelines can lead to costly fines or even the removal of your fence.
Installing a fence on a slope might seem impossible, but it’s not! All you need is careful planning, the right tools, and a bit of elbow grease, and it becomes a perfectly achievable DIY project. In understanding the different installation methods, following best practices, and avoiding common mistakes, you can create a beautiful and functional fence that complements your sloping garden and stands the test of time.
If you’re ready to tackle your fencing project, explore our wide range of high-quality fencing materials, including our high quality composite fencing. Composite fencing offers exceptional durability, weather resistance, and a variety of styles to suit any garden design, and we’ll even send you a free sample to try at home first, so why not give it a go?
The easiest fence to install on a slope is one that is lightweight. Due to the uneven gradient, a lightweight fence will stand the test of time much better. There are several options for this, with the best two being composite or vinyl fencing.
Firstly, make sure you have checked local building regulations. The general rule is a maximum of 2 metres in height.
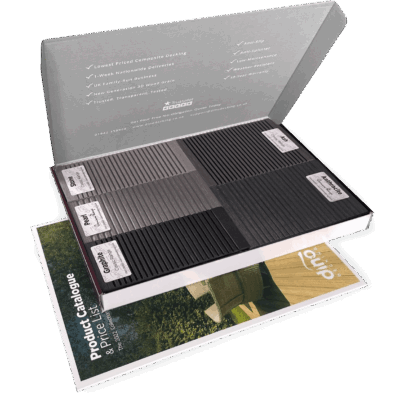
Our sample pack contains a sample piece of each colour currently available. Order your free sample pack today to compare the colours and get a true feeling of the Dino Decking range!
Wooden decking is a very popular option for outdoor decks. Typically, people appreciate the aesthetic of wooden decking, while composite
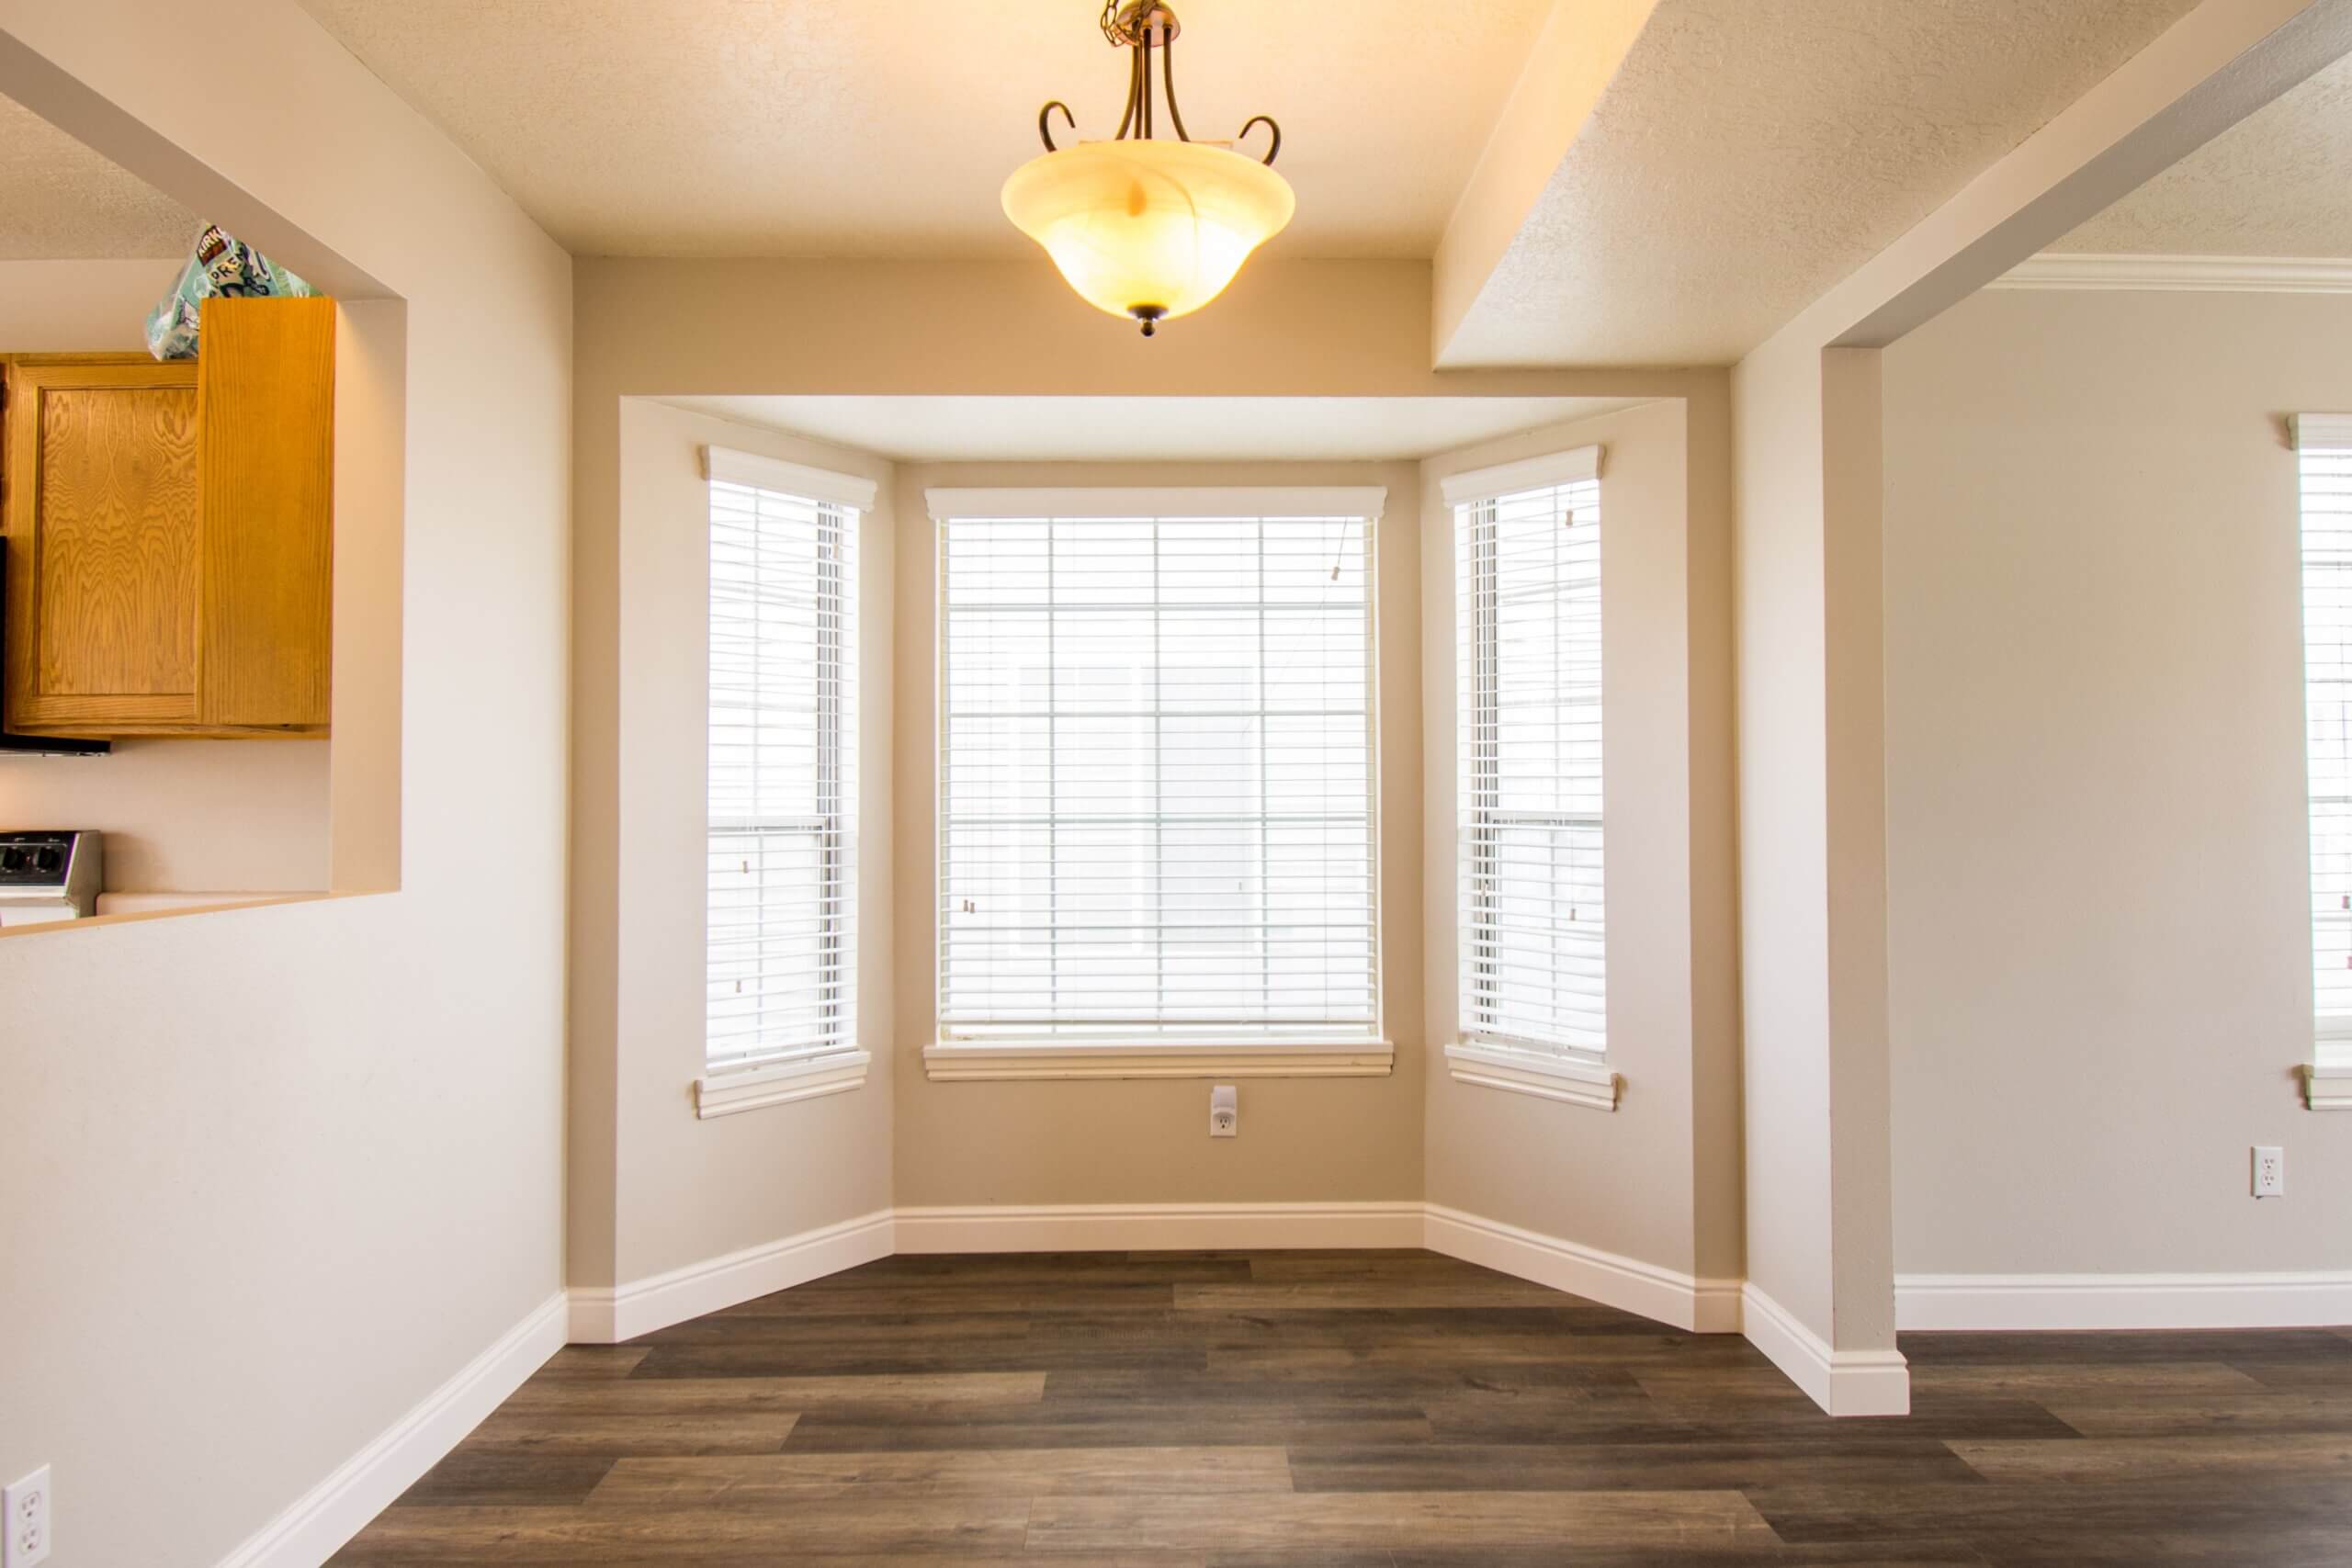
So, you’re a homeowner looking for a comparatively low-effort way to improve the look of your house. Our bay window