What a lot of waiting: The UK’s growing allotment waiting lists
Easy access to a green space is proven to benefit mental well-being, but with 1 in 8 British households having
Products in Stock
Lowest Prices
Express Delivery
10-Year Warranty
Early July Sale. Up To 15% Off.

Are you looking to add a modern touch to your outdoor space while enhancing privacy and curb appeal? Building a horizontal fence might be the perfect DIY project for you. In this step-by-step guide, we’re going to take you through the process of constructing a stunning horizontal fence that will transform your garden and provide a stylish backdrop for your outdoor activities. Let’s dive in!
Before you begin, gather the necessary materials and tools to ensure a smooth building process. You’ll need:
Start by measuring the area where you want to install your horizontal fence. Sketch out a plan, including the fence length, height, and post spacing. Make sure to check local building codes and regulations, as they may have specific requirements for fence height and placement.
When selecting lumber for your horizontal fence, opt for pressure-treated wood. This type of lumber has been chemically treated to resist rot, decay, and insect damage, ensuring your fence will stand the test of time. Consider the aesthetic you want to achieve and choose a wood species that complements your home’s exterior.
Using stakes and string, mark the perimeter of your fence line. Ensure the line is straight and level, adjusting as necessary.
Using a post hole digger, dig holes for your fence posts at the marked intervals. The depth of the holes should be approximately one-third of the total post length. Add a layer of gravel to the bottom of each hole for drainage.
Place the fence posts into the holes, ensuring they are plumb (vertically straight) using a carpenter’s level. Pour concrete mix around the posts, filling the holes to ground level. Allow the concrete to set according to the manufacturer’s instructions.
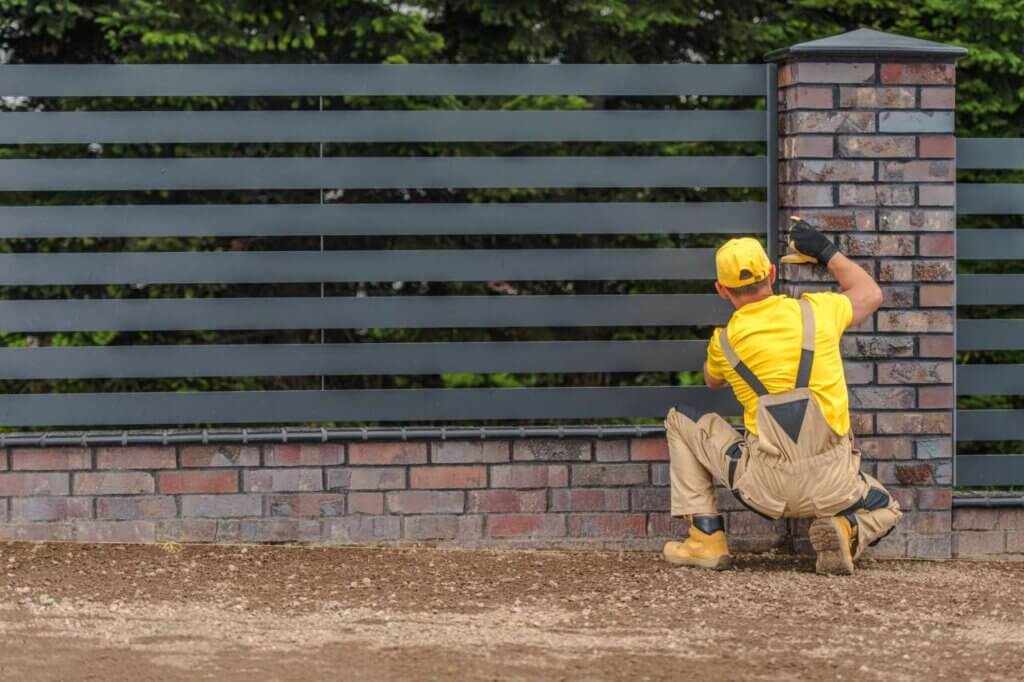
Once the posts are set, attach horizontal rails between the posts using galvanised screws. The number of rails needed will depend on the height of your fence. Space the rails evenly, with the top rail flush with the tops of the posts and the bottom rail about 6 inches from the ground.
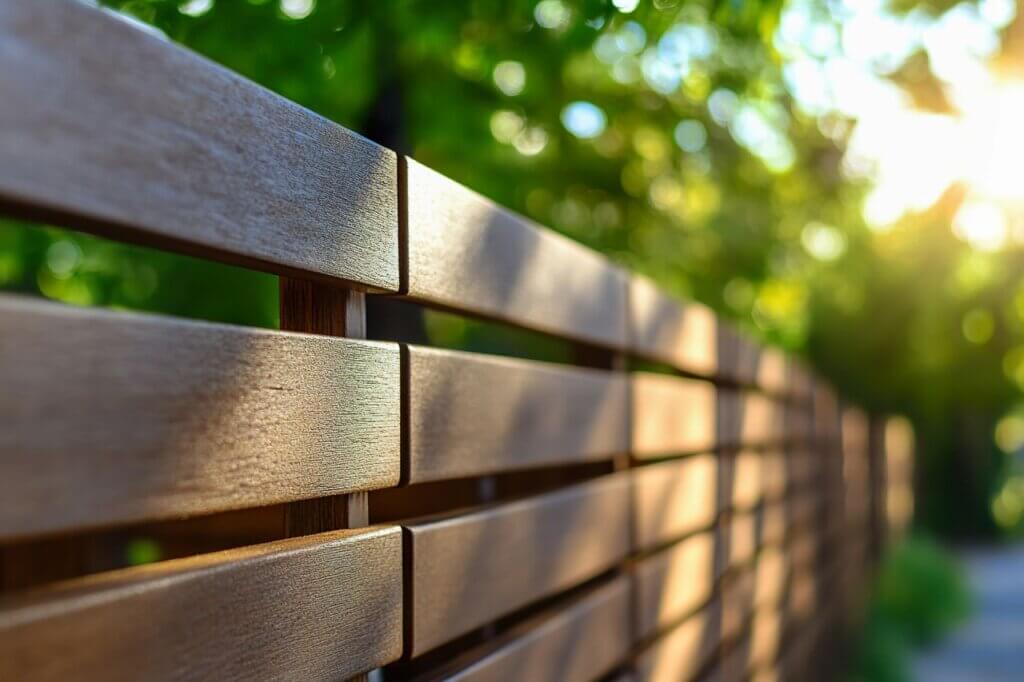
Begin attaching the horizontal slats to the rails, starting at one end of the fence. Use spacers to maintain consistent gaps between the slats, and secure them to the rails with galvanised nails or screws. Work your way along the fence, ensuring the slats are level and parallel to the ground.
To protect your horizontal fence from the elements and maintain its appearance, apply a wood sealer or stain. Choose a product that is suitable for exterior use and follow the manufacturer’s application instructions.
If desired, you can add decorative elements to your horizontal fence, such as post caps or ornamental details. These finishing touches can enhance the overall appearance of your fence and make it truly unique.

To keep your horizontal fence looking its best, follow these maintenance tips:
Regularly clean your fence using a mild detergent and a soft-bristled brush to remove dirt, debris, and algae growth.
Periodically inspect your fence for signs of damage, such as loose slats, warped rails, or rotting posts. Address any issues promptly to prevent further deterioration.
Every few years, reapply a wood sealer or stain to maintain the fence’s protection and appearance.
Keep nearby trees, shrubs, and plants trimmed to prevent them from rubbing against or growing onto your fence, which can cause damage over time.
Ensure proper drainage around your fence to prevent moisture from accumulating at the base of the posts, which can lead to rot and instability.
When building your horizontal fence, be mindful of these common mistakes:
Ensure your posts are spaced evenly and according to your plan to maintain the fence’s structural integrity and aesthetic appeal.
Don’t forget to add a layer of gravel to the bottom of your post holes for proper drainage, which helps prevent water from pooling around the posts and causing rot.
Always use galvanised nails, screws, and other fasteners to prevent rust and corrosion, which can weaken the fence over time.
Take the time to ensure your fence line is straight and level, as an uneven fence can detract from its overall appearance and stability.
Before starting your project, familiarise yourself with local building codes and regulations to avoid any potential issues or fines.
Building a horizontal fence is a rewarding DIY project that can transform your outdoor space and provide a modern, stylish look. By following this step-by-step guide and keeping our maintenance tips in mind, you’ll be able to create a stunning fence that will be the envy of your neighborhood.
If you’re looking for a low-maintenance alternative to traditional wood fencing, consider our stylish composite fencing options at Dino Decking. Our composite fencing offers the beauty of wood without the upkeep, making it an ideal choice for busy homeowners who want a stunning fence without the hassle.
Pro-tip: Don’t forget to check if your project requires fence planning permission before you begin. And if you have any questions or need assistance, our friendly team at Dino Decking is always here to help. We offer free samples and next-day delivery across the UK, so you can start building your dream fence as soon as possible.

Our sample pack contains a sample piece of each colour currently available. Order your free sample pack today to compare the colours and get a true feeling of the Dino Decking range!
Easy access to a green space is proven to benefit mental well-being, but with 1 in 8 British households having
Find out how protecting your composite decking can help keep your decking looking its best for years to come. You
Business hours
Monday: 09:00 – 17:30
Tuesday: 09:00 – 17:30
Wednesday: 09:00 – 17:30
Thursday: 09:00 – 17:30
Friday: 09:00 – 17:30
Saturday: Closed
Sunday: Closed
Contact us
01942 355968
support@dino.co.uk
Collection Address: Unit 1 Wetheral Close Hindley Ind Estate Wigan Greater Manchester North West WN2 4HS
Pages
Products
Testing
Copyright 2025 Dino Decking Ltd All Rights Reserved.
VAT Number: GB296097848.
Company Number: 10837233.