Fire Resistant Cladding
If you are looking to install any type of cladding, including composite cladding, it is important to think about how
Products in Stock
Lowest Prices
Express Delivery
10-Year Warranty
Bank Holiday Sale. Up To 15% Off.
Replacing decking boards might be the solution if your deck is looking a bit worse for wear. Perhaps you’ve noticed some boards that are starting to rot, warp, or splinter. If so, it might be time to consider replacing those deck boards to give your decking a fresh look. Don’t worry, though – with the right tools and a bit of know-how, you can breathe new life into your outdoor space without breaking the bank. In this guide, we’ll talk you through the process of replacing decking boards, step by step.
Decking boards don’t last forever and are often prone to some nasty side effects even if they are well looked after. Look out for the following signs that your decking boards need replacing:
Even one or two of these signs provides great justification for replacing your decking boards, as they can cause the decking to become unstable which could compromise safety.
Before we dive into the specifics, let’s talk about why replacing decking boards is so important. Your deck is more than just a pretty feature of your home; it’s an investment. Regular maintenance, including board replacement when necessary, can extend the life of your deck significantly.
When deck boards start to deteriorate, they can become a safety hazard. Loose, warped, or rotten boards can cause trips and falls, and in extreme cases, they might even collapse under weight. By replacing these boards promptly, you’re not only improving the appearance of your deck but also ensuring it remains safe for you and your loved ones to enjoy.
Moreover, replacing individual boards as needed is often more cost-effective than waiting until the entire deck requires replacement. It’s a proactive approach that can save you money in the long run.
Not only do deck boards whither overtime, but so does the substructure and frame of your deck. If the frame of your decking becomes unstable due to rot, warping or pest damage, a full replacement might be necessary.
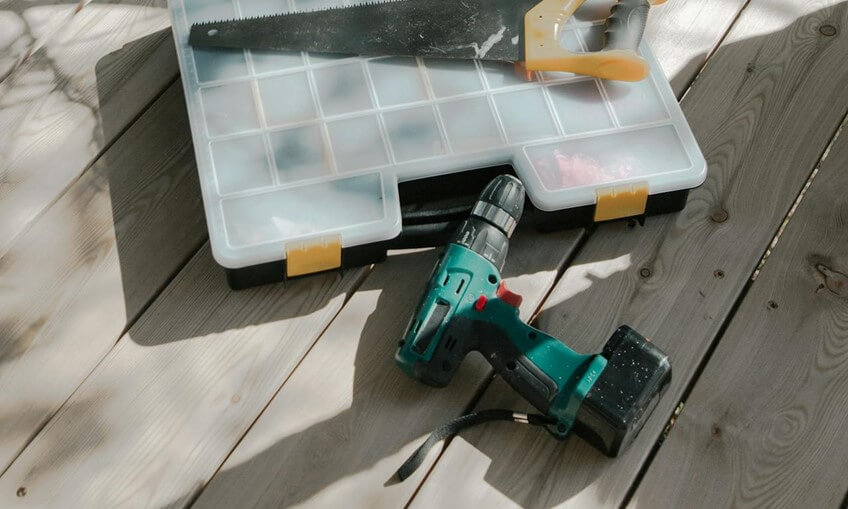
Before you begin, it’s essential to gather all the necessary tools and materials. Having everything at hand will make the process smoother and more efficient.
To replace your deck boards effectively and safely, you’ll need:
As for materials, you’ll need:
When selecting your new deck boards, consider opting for a more durable option such as composite decking. Composite decking offers excellent durability and requires less maintenance than traditional wood, making it an increasingly popular choice among homeowners.
Now that you’ve got your tools and materials ready, it’s time to get started with the replacement process.
Begin by thoroughly inspecting your deck. Identify all the boards that need replacing by looking for signs of rot, warping, splitting, and excessive wear. It’s a good idea to mark these boards with chalk or tape for easy reference.
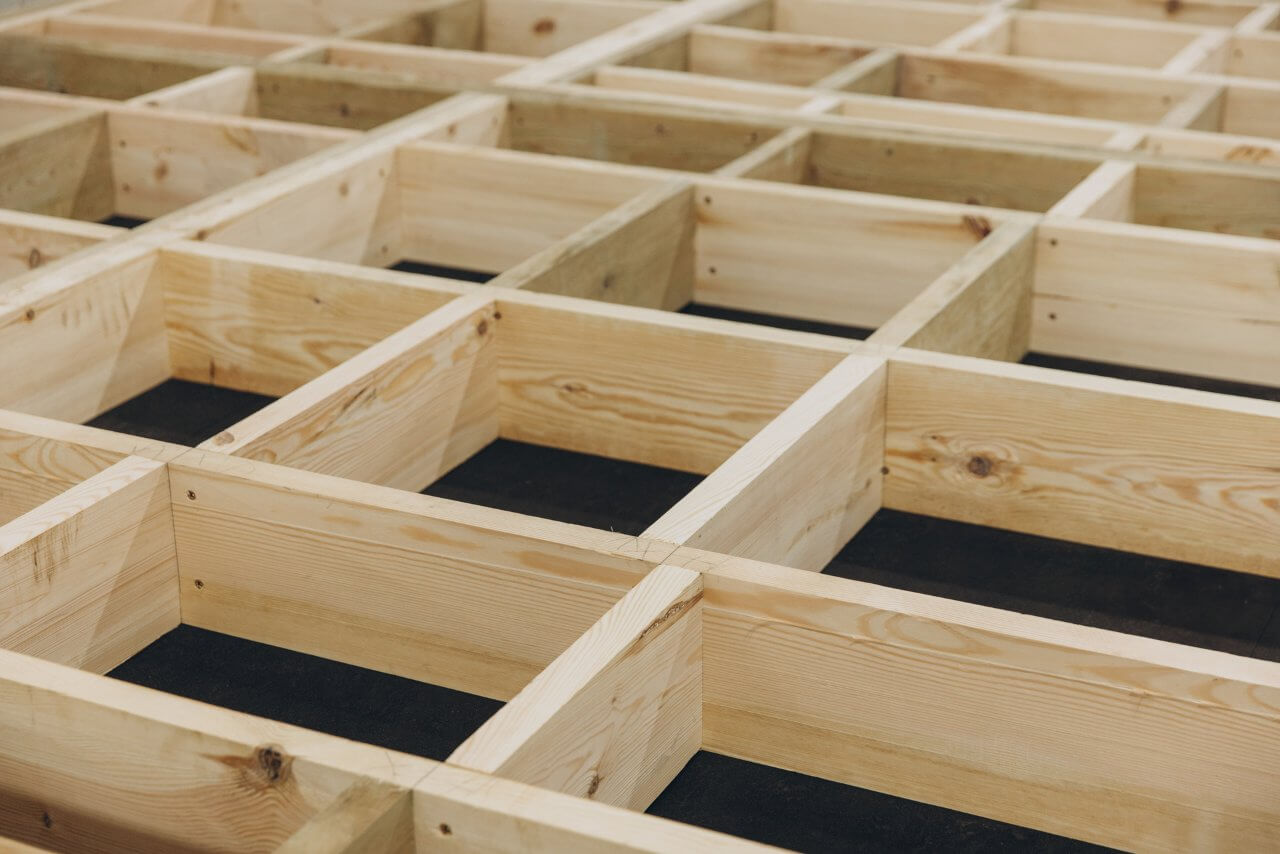
While you’re at it, check the underlying structure of your deck, as this is also prone to damage and wear. If you notice any issues with the joists or support beams, it’s best to address these before replacing the deck boards by contacting a professional. If you decide to go with composite decking, composite joists provide a sturdy foundation to ensure your decking won’t move or collapse.
Before removing any deck boards, remove any furniture or obstacles from your deck. Then, begin removing the damaged boards. If your deck boards are nailed down, use the pry bar to carefully lift the board, working from one end to the other. For screwed-down boards, you’ll need to remove the screws first using a drill.
Take care not to damage the surrounding boards or the underlying structure as you work because this could lead to extra costs. If you’re planning to replace all the boards, start at one edge of the deck and work your way across.
With the old boards removed, take a moment to inspect and clean the exposed frame. Remove any protruding nails or screws, and check for signs of rot or damage in the joists. If you find any issues, now is the time to address them.
It’s also a good opportunity to ensure the frame is level. Use your level to check, and make any necessary adjustments before proceeding.
Measure the space where you’ll be installing the new boards and cut them to size using your circular saw. Remember the old carpenter’s adage: measure twice, cut once! It’s always better to double-check your measurements to avoid waste.
When working with different types of materials for decking, be sure to follow the manufacturer’s guidelines for cutting composite decking. Some materials may require specific techniques or tools for the best results.
Now it’s time to install your new deck boards. Start by positioning the board in place, ensuring it’s snug against the adjacent boards. Next, use your level to check that it’s even.
Pre-drill holes for your screws to prevent splitting, especially if you’re working with hardwood. Then, secure the board using your deck screws. Most experts recommend using two screws at each joist crossing for maximum stability.
Once all your new boards are in place, you’ll want to protect them from the elements. If you’ve used wood boards, apply a coat of exterior wood stain or sealant according to the manufacturer’s instructions. This will help protect your new boards from moisture and UV damage.
For composite decking, follow the manufacturer’s recommendations for cleaning and deck maintenance to keep your deck looking its best for years to come.

When selecting replacement boards, consider factors like durability, maintenance requirements, and aesthetics. While traditional wood decking has its charms, many homeowners are turning to composite decking for its longevity and low maintenance needs.
Regular maintenance of your decking can significantly extend its lifespan. Clean your deck annually by hand, and re-seal or stain wood decking every few years. You can also jet wash your decking for better results, but this must be done properly to avoid damage. For composite decking, follow the manufacturer’s care instructions to keep it looking its best.
Replacing decking boards might not be a one-off job if they aren’t properly cared for and maintained for years to come. Many hard and soft wood decking boards need regular cleaning and maintenance, especially during the colder months.
We recommend staining and sealing your deck biannually for the best protection throughout the year. For even better protection, replacing wooden decking with composite decking boards is a good option. Composite decking offers the same look of wood without the maintenance and short lifespan. Plus, there are a variety of composite decking colours to choose from, creating an endless supply of design possibilities for your garden.
Replacing deck boards might seem like a long task, but so long as you’re equipped with the right preparation and approach, it’s a project that many homeowners can tackle successfully. Not only will you save money by doing it yourself, but you’ll also have the satisfaction of improving your outdoor living space with your own two hands.
Remember, if you’re unsure about any aspect of the process, don’t hesitate to consult a professional. And if you’re considering a full deck replacement or an upgrade to composite decking, we’re here to help. At Dino Decking, we can guide you through the process of choosing the perfect decking solution for your home. And you can even try before you buy – order a free sample of our affordable, composite decking today.
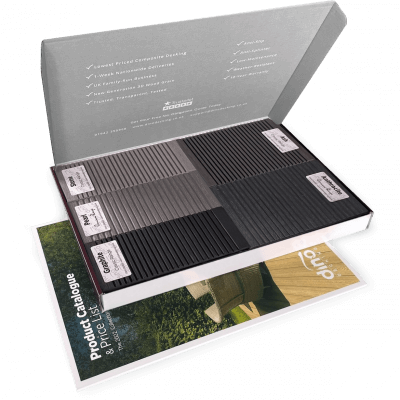
Our sample pack contains a sample piece of each colour currently available. Order your free sample pack today to compare the colours and get a true feeling of the Dino Decking range!
If you are looking to install any type of cladding, including composite cladding, it is important to think about how
You might love your garden, but are you really making the best use of it? Nobody uses their garden all