Fire Resistant Cladding
If you are looking to install any type of cladding, including composite cladding, it is important to think about how
Products in Stock
Lowest Prices
Express Delivery
10-Year Warranty
March Sale. Up To 15% Off.
If you’re wondering how to install composite cladding, our handy guide will tell you everything you need to know. Cladding of any kind can bring a number of benefits, in both aesthetic and practical terms. Exterior cladding can provide a stylish transformation to your home or outbuildings that also protects against weather and provides improved insulation and energy efficiency. There are a number of different materials you can choose from, but composite cladding is becoming more and more popular thanks to its attractive finish and durable qualities.
Composite cladding is also easy to install, and you should be able to do it yourself with minimal tools and experience. This can make the project even more affordable, so read on to learn how to fit composite cladding…
In this article, we will cover:
Composite materials are increasingly being used for decking projects and for very good reasons. Our composite decking is a blend of wood fibre and recycled plastic materials, which makes it far more durable and weather-resistant than traditional timber decking boards.
Our composite cladding is made from a similar blend of high-quality materials, including 55% eco-friendly recycled wood, 40% HDPE (high-density polyethylene), and a 5% mix of additives. The result is a stylish and attractive finish that not only fits well with modern minimalist fashions but is also incredibly practical. Composite cladding is more durable and long-lasting than wood cladding and will not crack, splinter, rot or deteriorate over time.
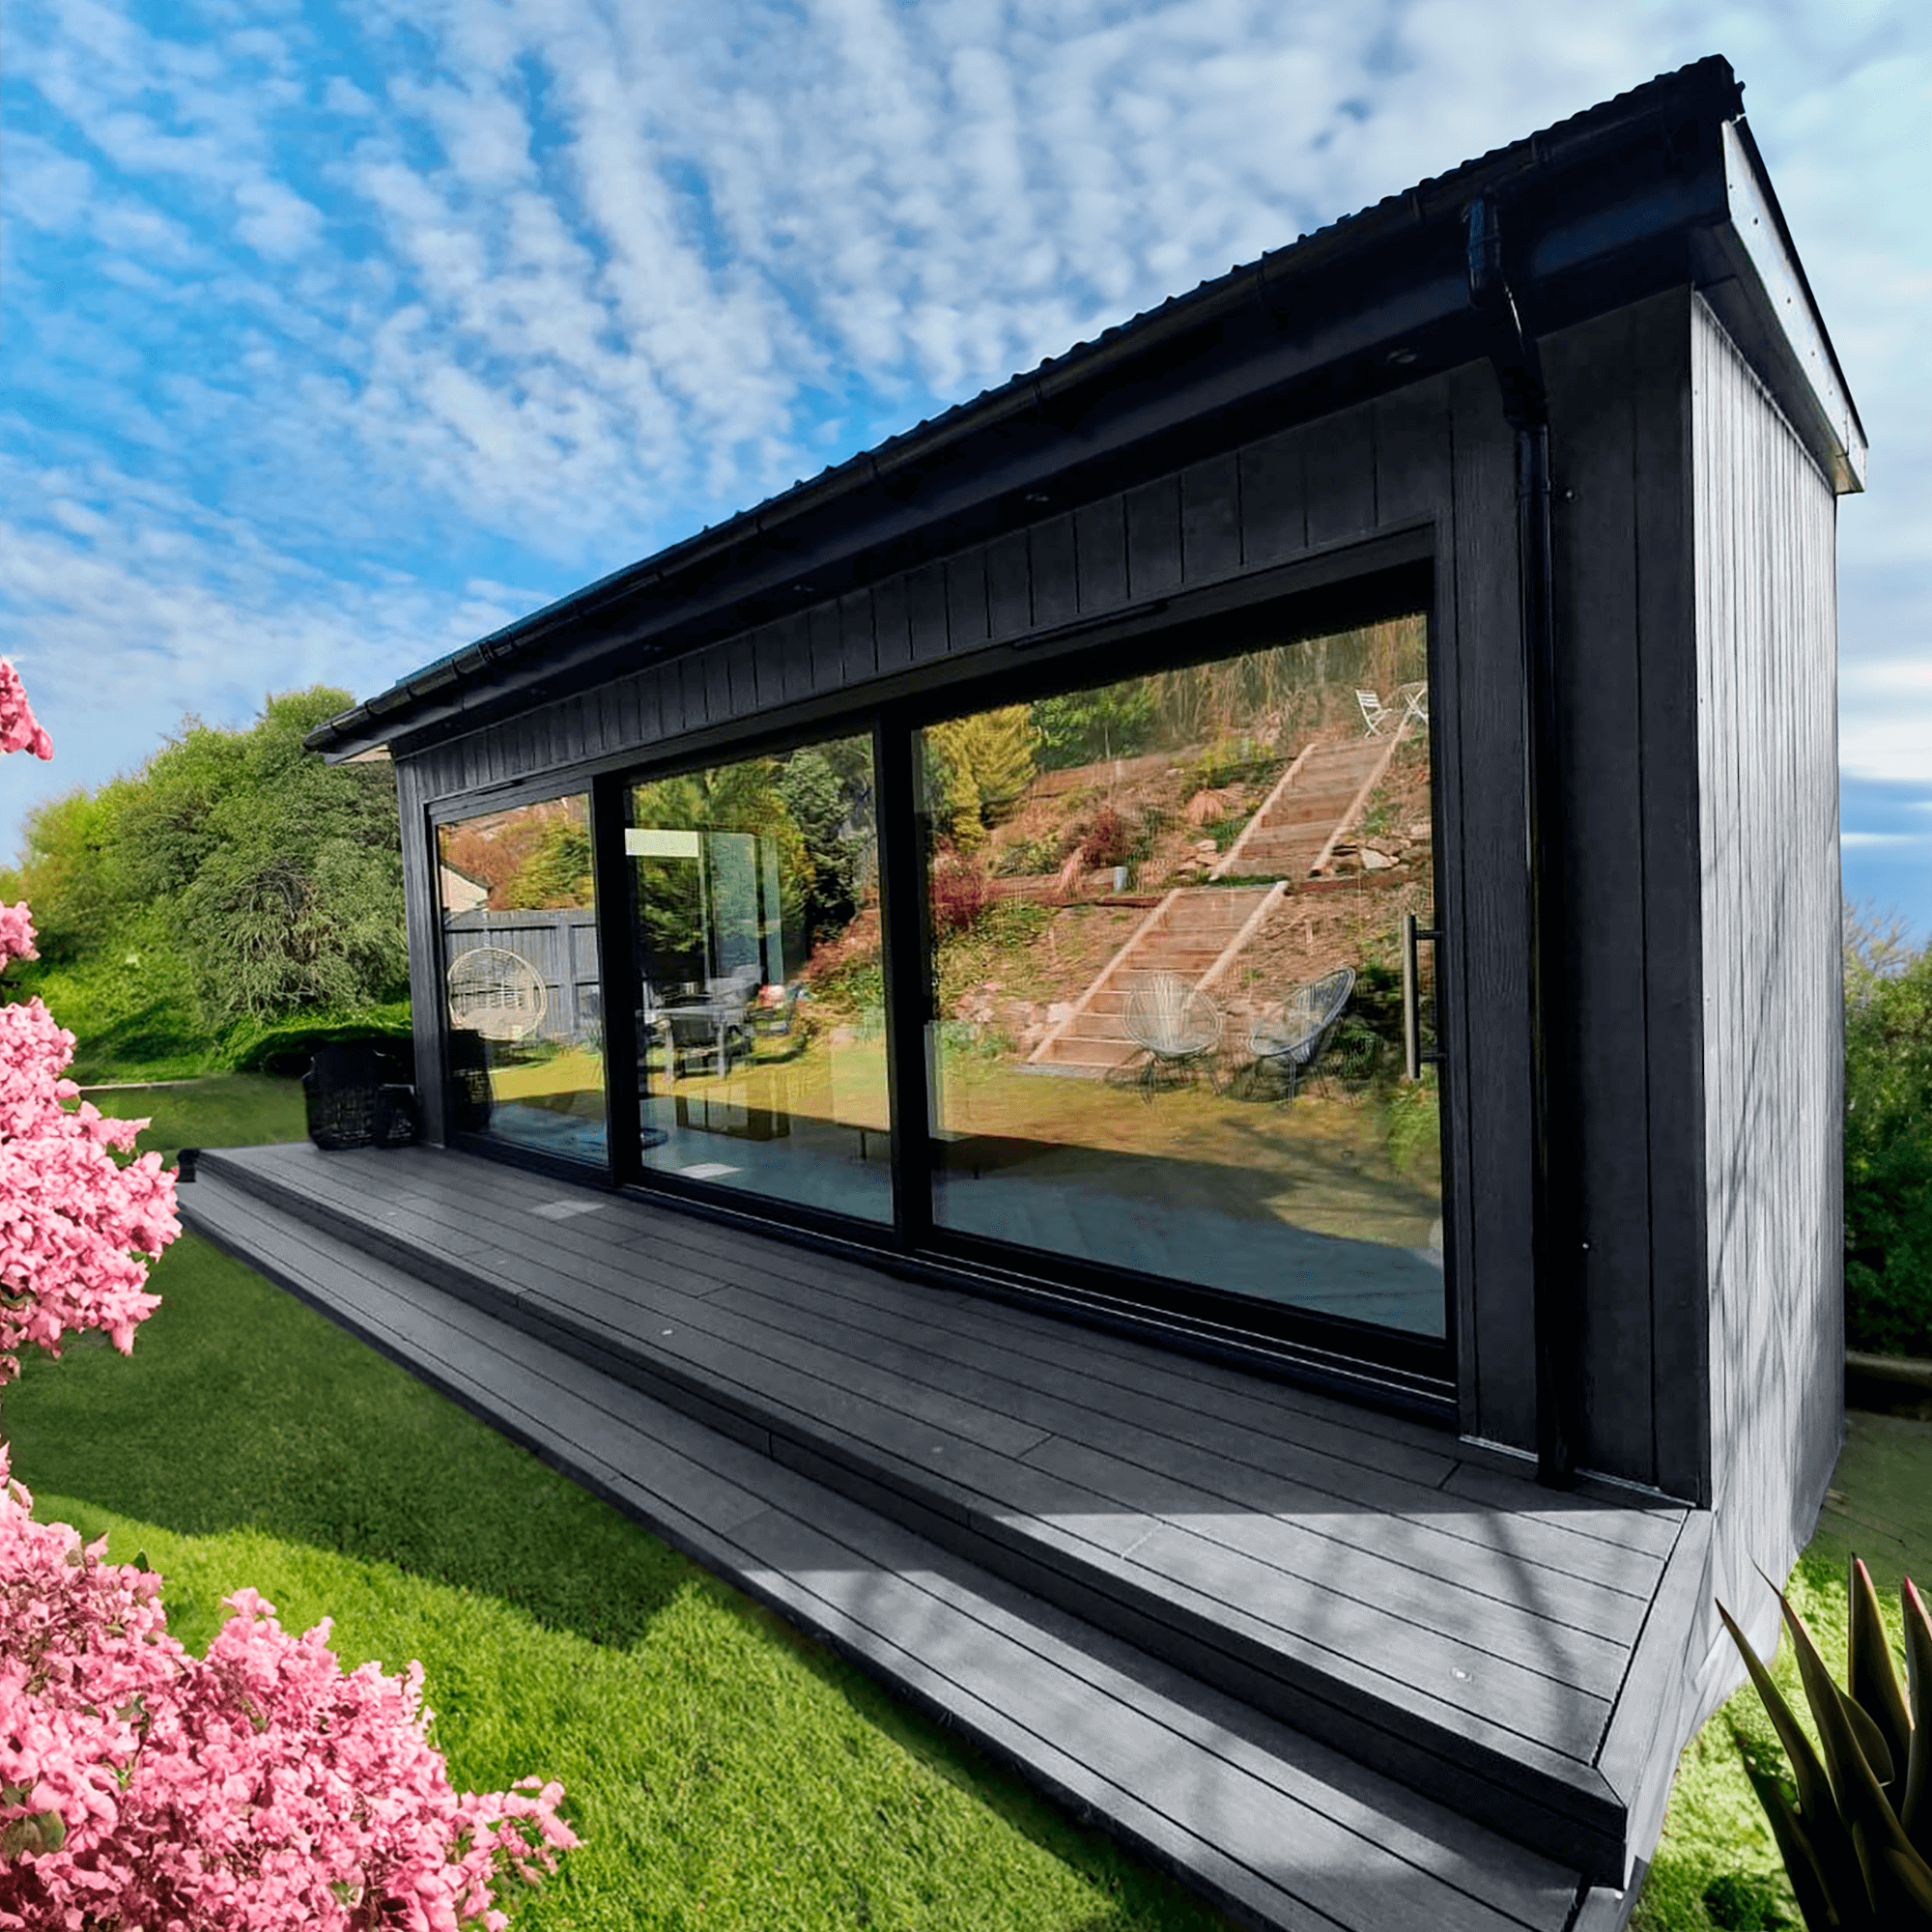
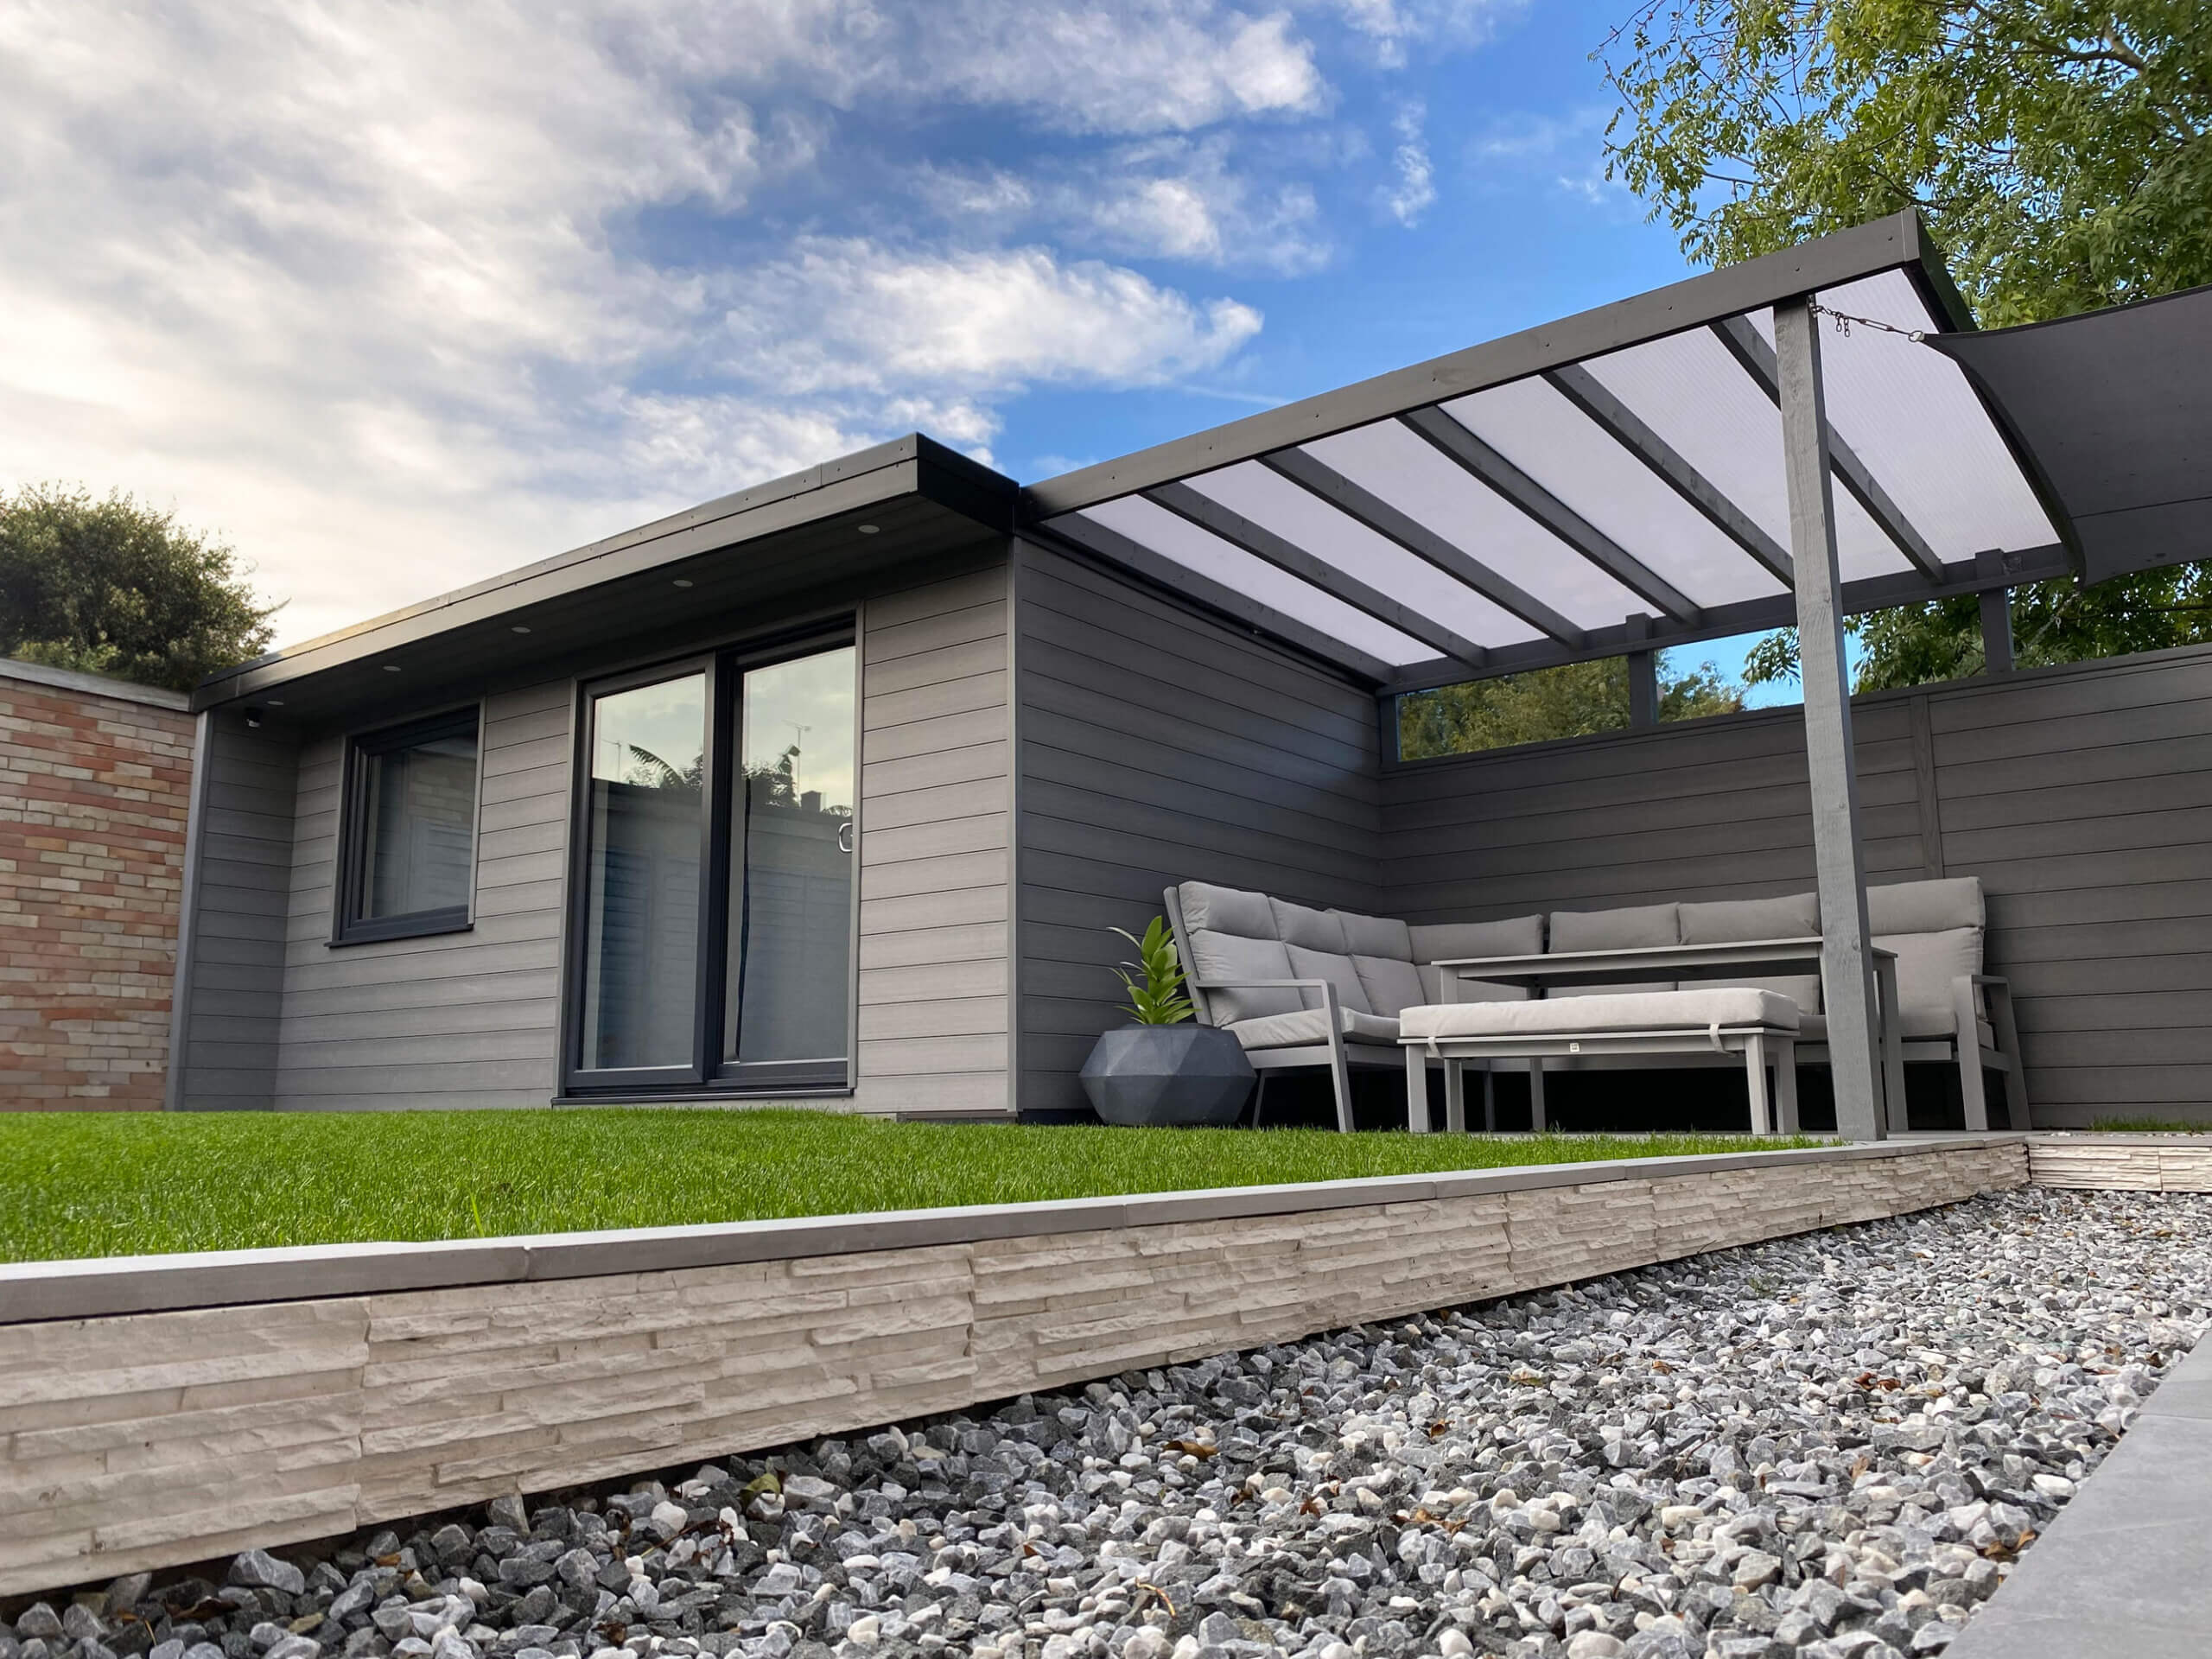
Exterior cladding on a house or outbuilding can help protect the structure from the elements and other damage and aging effects, as well as adding a stylish aesthetic all of its own. You might even find that installing cladding can increase the value of a property.
But which type of cladding should you go for? Some common types include composite, timber, PVC and fibre-cement cladding. You can look at these blogs to get a detailed view of the pros and cons of composite cladding vs PVC and composite cladding vs fibre-cement, but we’ll go through some of the main points here.
When it comes to PVC cladding, many people prefer the wood-mix finish provided by composite cladding. Composite is also tougher and more durable than PVC cladding and is more eco-friendly as it uses recycled materials. Both are low maintenance and easy to install. Composite cladding can cost a little more upfront, but you should make back any extra expenditure over the product’s lengthy lifespan.
Fibre-cement cladding is also very durable but can be prone to cracking if not installed very carefully. Composite cladding is also lower maintenance than fibre-cement, especially if the surface is painted.
Wooden cladding can give a pleasing effect but tends to have the highest maintenance requirements, as it may need sanding, varnishing or painting. Wooden cladding can also be more vulnerable to splintering, warping and weather damage.
When considering how to install composite cladding, you will first need the right tools, which can include the following:
You might also want to wear safety equipment such as safety glasses, safety gloves and heavy boots.
Planning permission assesses whether the development fits in with local and national policies, while building regulations cover the structural, safety and accessibility aspects of your structure. Essentially, planning permission tells you whether you can carry out the work and building control tells you how you should do it.
Planning permission often isn’t needed as cladding is covered by Permitted Development Rights (PDRs). These allow homeowners in the UK to carry out certain types of building work without needing to apply for planning permission.
However, certain categories of property may require permission, such as listed buildings or properties located in:
If in doubt, it is always best to check regulations with your local council.
When it comes to building regulations, the home must have a maximum height of 11m and the cladding must be installed at least 1m away from the boundaries of the property.
Before starting your cladding installation, you need to plan the design thoroughly. You must ensure that you have the right amount of cladding panels, and also consider the colours and placement of the panels on the structure.
Cladding boards need to acclimate to the ambient temperature before installation.This allows them to achieve the same moisture content as the surrounding environment, minimising expansion and contraction after installation. Ideally, you should leave them for 24-48 hours to acclimatise before installing.
If you were wondering how to install composite cladding over brick, the answer lies in first installing a subframe. This can be made of timber joists or composite battens for added strength and durability.
The subframe will be attached to the wall and the cladding itself attaches to the subframe. This means that the cladding is not directly attached to the wall and there will be a gap to allow for proper ventilation.
The subframe should be attached to the wall using appropriate screws and fixings. The most suitable fixings will depend on whether you are attaching to brick, stone, concrete or another surface, but you will probably need to use appropriate masonry screws and plugs. Evenly space the joists, aiming to leave a gap of around 500mm between each vertical joist. You should also leave a gap of at least 15mm between the bottom of the frame and the floor for ventilation purposes. If you want to know how to install vertical composite cladding, note that you should fix the subframe battens horizontally instead of vertically.
Measure and cut the window trim pieces using a saw blade suitable for composite materials. It is generally best to fit window trims before the cladding boards for better access and accuracy.
Attach small battens around the window and attach the trim to the battens. Where two pieces of trim meet, they can be mitred to make a neat joint.
A starter bar or strip sits at the bottom of the subframe and gives the lowest cladding board a base to sit on. It should be firmly attached to the frame using suitable screws or fixings. Stainless steel screws that are at least 15mm and preferably 25mm will anchor it securely.
Attach the first piece of composite cladding board to the battens using the starter strip as a base. Secure firmly with screws or stainless steel nails. You should leave a gap of 4-5mm at both ends of each board for expansion and contraction.
Once your first board is in place, the next one will clip into place, and they can be secured together with fixing clips, with each piece being secured to the subframe. Continue to attach the boards until they are all fitted and secured.
Dino Decking’s composite decking boards are designed to fit together with hidden fasteners, ensuring that the fixings will be completely hidden from view. This provides a clean and mess-free finish.
Check that all the boards are level and flush with each other and that there is a gap at the ends for the boards to expand into when temperatures fluctuate. You can add cladding accessories such as corner trims for a sleek finish.
Your cladding should ideally be stored indoors, or at least in a covered area where it is protected from sunlight and rain. Covering with a sheet can add an extra layer of protection and avoid potential staining or scratching from accidental damage. Ensure that the boards are not subject to debris or obstructions, and lie them flat, in stacks no higher than 3m.
Composite cladding is both lightweight and durable, which makes the individual boards easy to transport and handle. One thing to bear in mind, however, is not to drag or slide them across the floor. You should also avoid hitting them against other objects or surfaces, as this can cause scratches.
Composite cladding is both durable and low maintenance. Therefore, you’re unlikely to ever have to learn how to fix composite cladding. Maintenance requirements are very straightforward: simply give it a wash every three to six months with normal washing-up liquid, avoiding products with bleach or power washers.
Composite cladding provides a lot of potential benefits over other cladding types. It is durable, easy to maintain and also easy to install, though if you’re not confident in your abilities, you could opt for a professional installation.
You could also combine composite cladding with Dino Decking’s composite decking boards, fence panels and other features for a coordinated look across your property. Dino Decking offers three different types of decking boards: classic, premium and stainless steel. Take a look at our full product range, including our stylish and practical composite cladding options.
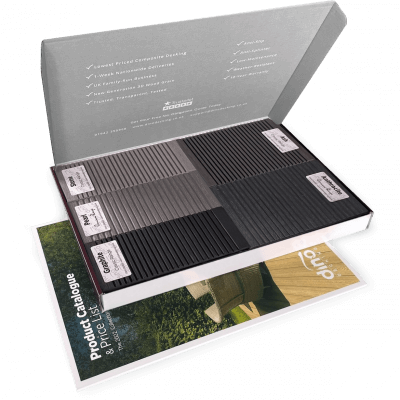
Our sample pack contains a sample piece of each colour currently available. Order your free sample pack today to compare the colours and get a true feeling of the Dino Decking range!
If you are looking to install any type of cladding, including composite cladding, it is important to think about how
You might love your garden, but are you really making the best use of it? Nobody uses their garden all