Fire Resistant Cladding
If you are looking to install any type of cladding, including composite cladding, it is important to think about how
Products in Stock
Lowest Prices
Express Delivery
10-Year Warranty
March Sale. Up To 15% Off.
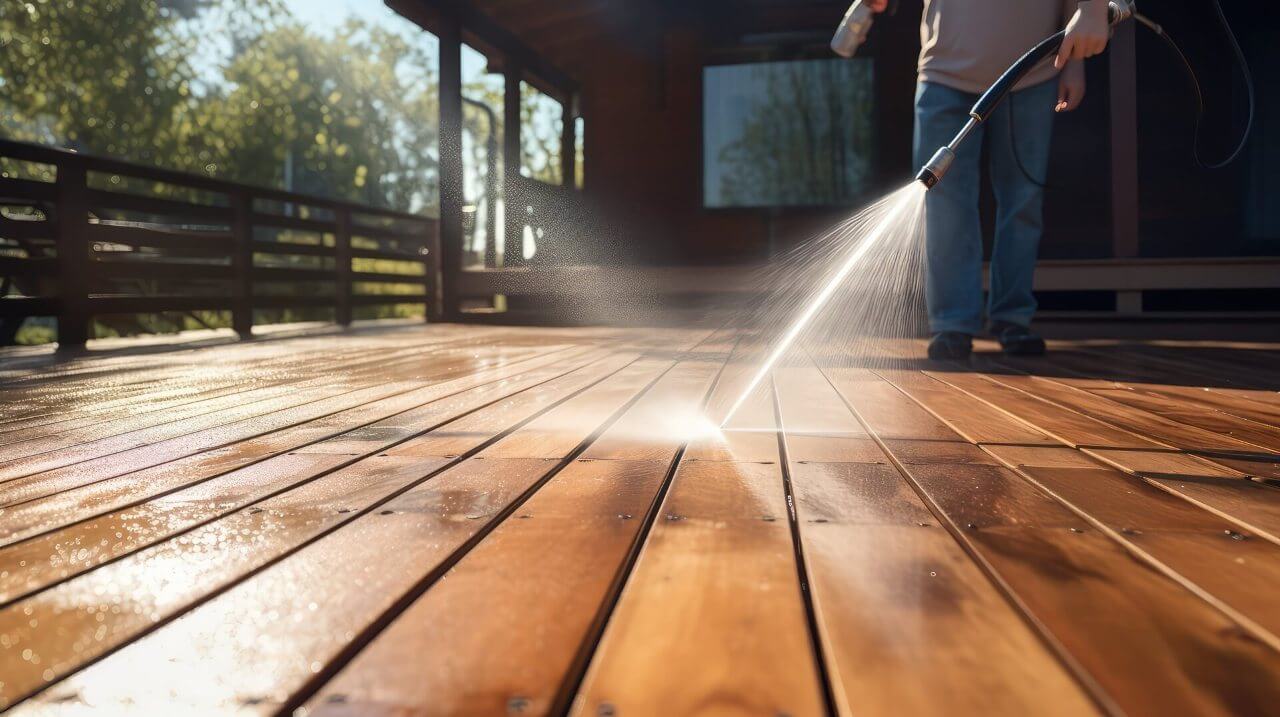
It’s unlikely that your composite decking will need repairing as it is so durable. Our composite decking is designed to resist warping, cracking and splintering and is also far more resistant to weather than traditional timber decking. Life can happen though, especially with pets, heavy garden furniture or heavy footfall, and it can be good to know how to repair composite decking.
Getting professional help is always an option, but you might want to fix some issues yourself, especially for minor damage that only affects a small area. In this article, we’ll look at some of the issues that can affect your decking and explain how to restore composite decking to full health.
Composite decking can be relatively easy to install, though if you have a more complex design in mind or are not confident in your own abilities, it might be best to call in a professional. Our blog on whether to go for DIY or professional decking installation could help you to decide. Even if you have composite decking installed professionally though, you should still be able to carry out your own minor repairs. You don’t need experience or prior knowledge of how to repair decking; just follow our step-by-step guide.
There are a number of benefits to repairing composite decking yourself, including:
All that said, you should also be realistic about your own abilities. If the damage is too extreme or if you’re worried about the stability or safety of the deck, it might be time to consider calling in the professionals.

If you do want to make DIY repairs, it’s important to know how to repair composite decking safely and effectively. This can vary depending on the type and severity of the damage. You will also need the right tools or equipment for the job.
In the guides below, we will go through some of the most common issues and explain what you need and how to carry out the repairs for each scenario.
Finding a scratch or small hole in your decking is one of the most common issues you might come across. Even tough and durable composite materials can be damaged by accident. Luckily, it also tends to be the easiest damage to fix, takes very little time and doesn’t cost a lot.
Your composite decking repair kit will vary depending on the damage you are repairing. For repairing a scratch, you will generally need:
To repair the scratch, follow these steps:
Clear the area of furniture, plants, etc. Sweep away any debris and use decking cleaner to thoroughly clean the area to be repaired.
Sand the scratch until it is smoothed off and at the same level as the surrounding decking. Use a fine-grade sandpaper for this.
Apply the filler in a thin and even layer with a putty knife or applicator. Smooth it flush to the decking boards and remove any excess.
Wait for the filler to dry, referring to the instructions for the type of filler used. Sand off to a smooth finish.
Your composite decking should retain its pigment for a long time, but a small amount of fading is natural and many people prefer a more natural look. Discoloured composite decking may simply need a thorough cleaning. It is not generally advisable or necessary to paint composite decking, but you may still want to if the discolouration is severe. You should only use compatible paint – generally a high-quality paint with a 100% acrylic latex exterior. You can check our guide to painting composite decking for more information.
To repair discoloured composite decking, you may need:
Follow these steps to repair discoloured decking.
Sweep away any loose debris.
Rinse the decking thoroughly using your bucket or a hose pipe.
Apply the cleaning solution and work into the boards with a soft-bristled brush or sponge.
Rinse the area thoroughly and leave to dry.
You could try a jet or power washer on stubborn stains, but this should be done very carefully and at low power only. Check out our guide to jet washing composite decking for more information.
Composite decking is designed to resist warping. You are unlikely to come up against this issue, but there may be some occasions when you need to know how to fix warped composite decking. In general, composite decking boards will only warp if they have been incorrectly installed. In such a case, you will usually need to replace the whole board.
To replace warped composite decking boards, you will generally need:
Follow these steps to repair warped decking.
Make two parallel cuts in the board you want to replace so that you can remove the centre and access the two ends.
Pry off the remaining end pieces using a pry bar or claw hammer.
Slide the new board into the gap, making sure that it is attached to the hidden fasteners.
Composite decking is built for durability using an eco-friendly mix of recycled plastic and wood fibres. It is weather-, stain- and scratch-resistant, so you really shouldn’t have too much trouble with normal wear and tear. There are a few things you can do to avoid damage, however, including the following:
When it comes to a choice between composite decking vs wood decking, composite decking has some clear advantages. It is far more durable and resistant to various kinds of damage, including scratching, rot, rain, warping, and damage from insects and mould. When damage does occur, it is generally relatively easy to deal with.
If you’re considering starting a new decking project or upgrading an existing one, take a look at our full range of composite decking for inspiration.
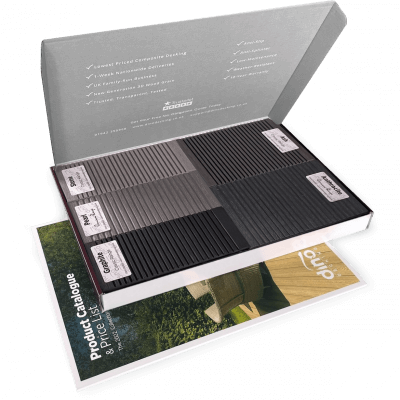
Our sample pack contains a sample piece of each colour currently available. Order your free sample pack today to compare the colours and get a true feeling of the Dino Decking range!
If you are looking to install any type of cladding, including composite cladding, it is important to think about how
You might love your garden, but are you really making the best use of it? Nobody uses their garden all